
Configuring SSL
The Secure Sockets Layer (SSL) / Transport Layer Security (TLS) protocol is used to encrypt Internet communication. This is important for protecting the privacy of your users and for safekeeping sensitive information that is being sent. If you do not protect the sensitive information on your website, you can become susceptible to man-in-the-middle attacks. Such attacks happen when an attacker intercepts communication between two systems (e.g., a server and a client web browser). Attackers can eavesdrop on messages being sent and also possibly alter them without being detected.
We recommend using a secured protocol (HTTPS) for all websites.
How to start using SSL on your website
- Obtain a certificate from a certificate authority or create a self-signed certificate.
- Bind the certificate to your website through IIS server.
- Configure your website to use secured URLs.
What are SSL certificates
SSL certificates are electronic documents, which use a digital signature to bind a public key (needed to establish a secure connection) with a server. The digital signature is provided either by the certificate itself (a self-signed certificate) or by a Certificate Authority:
Self-signed certificates
- You can create them easily by yourself, but they are less secure than those signed by a Certificate Authority.
- Great for testing servers and suitable for collecting personal (non-financial) information.
- You should not use a self-signed certificate on an e-commerce site.
Certificates signed by a Certificate Authority
- Must be issued by a Certificate Authority, which verifies that the subject (server) of the certificate is what it claims to be.
- Can be expensive, but provide high security.
- It is generally recommended to use this type of certificate.
Creating a self-signed certificate in IIS
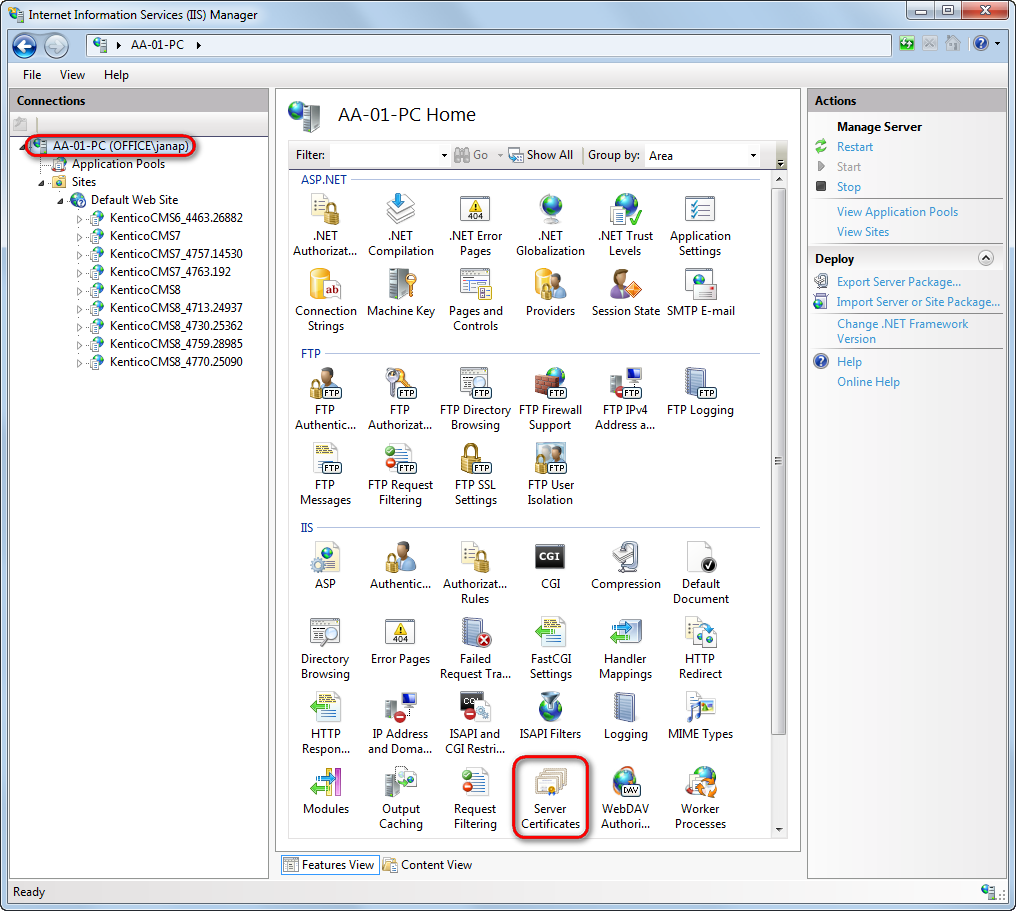
Open IIS Manager.
Click on the name of your server in the Connections column on the left.
Double-click the Server certificates.
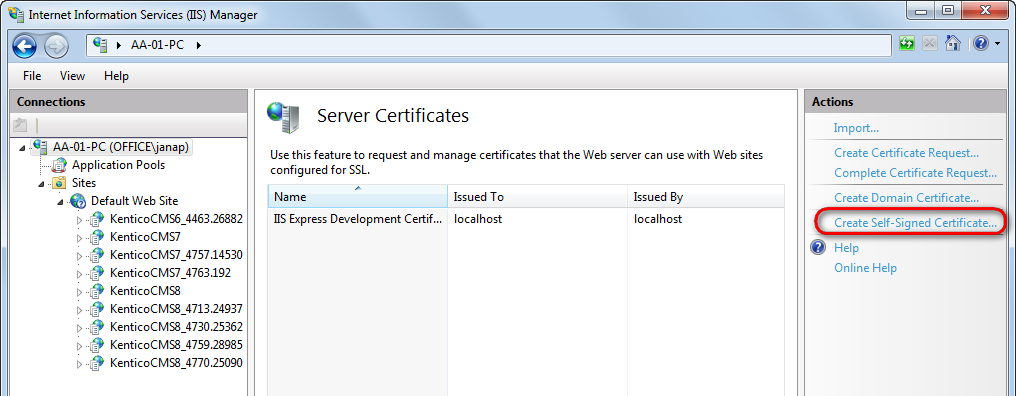
In the Actions pane, click Create Self-Signed Certificate.
Type a friendly name for the certificate in the Specify a friendly name for the certificate box, and click OK.
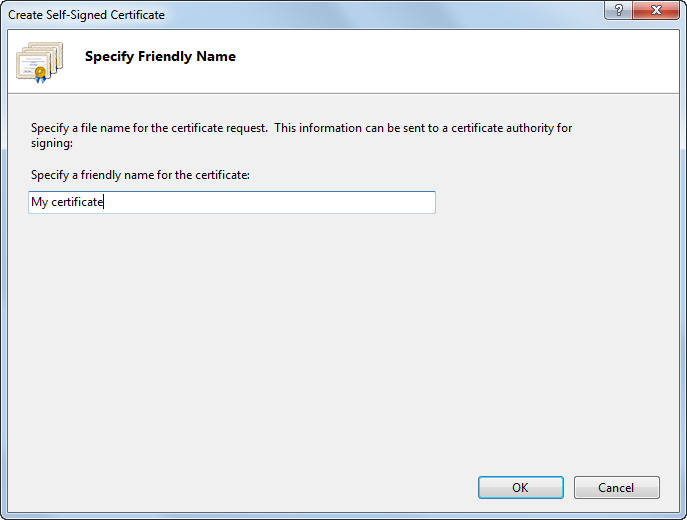
The IIS server creates a new self-signed certificate with the name of your server as its common name.
Binding a certificate to a website
If you already have an SSL certificate (self-signed or from a Certificate authority), you need to configure the IIS server so that it can use it for incoming secure connections.
Note: You need to configure SSL (HTTPS) separately for both your live site and the Xperience administration application.
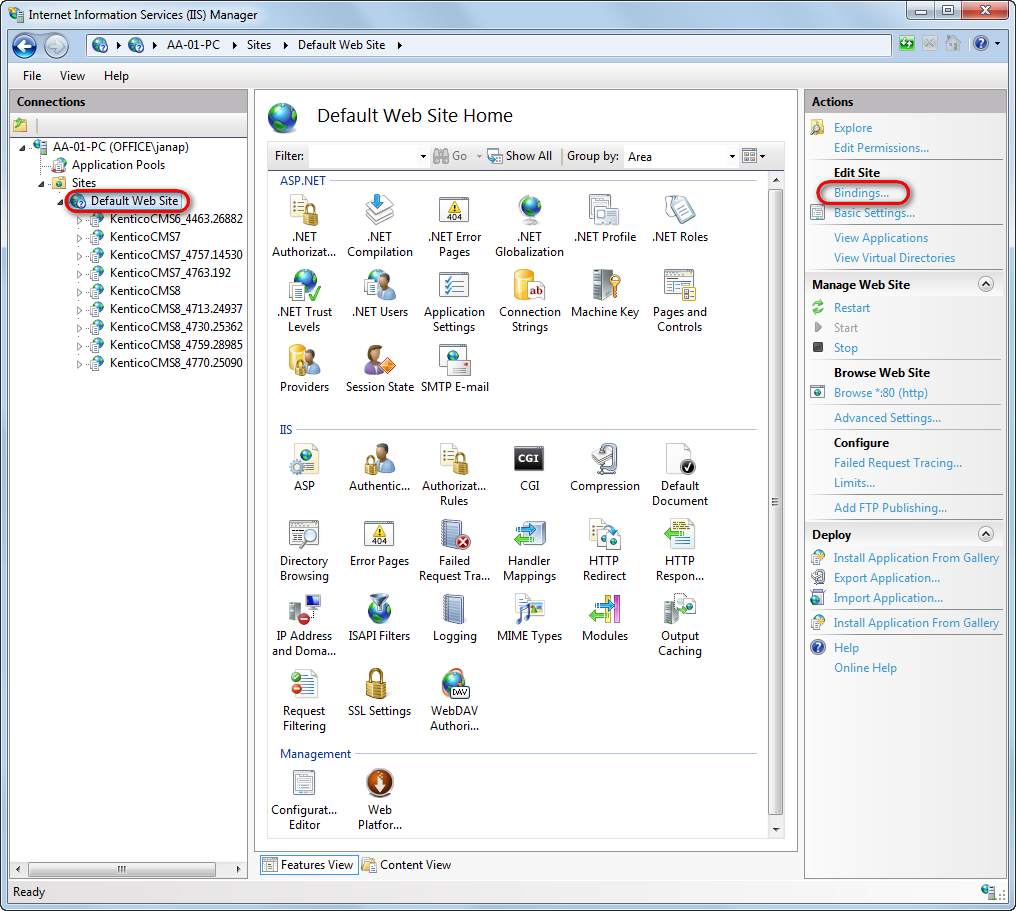
Open IIS Manager.
Select a website, you want to bind the certificate to, in the Connections column on the left.
Click Bindings… in the Actions column.
Click Add…
Change the Type to https.
Select the certificate from the list.
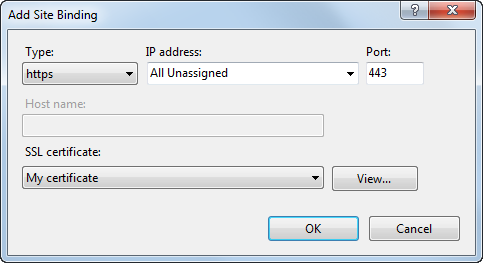
Click OK and close the Site bindings dialog.
The IIS server is now ready for using the assigned certificate with SSL handshake for incoming connections.
Configuring the live site to use HTTPS
To enable the live site to use HTTPS, you need to ensure the following:
- In the IIS, configure the live site application to use SSL.
- The presentation URL of the site needs to use the HTTPS protocol, e.g. https://example.com.
- If the live site and administration application are hosted on separate domains, you need to set up the multiple domain environment correctly.
- If you use a self-signed certificate (for example in a development environment), you need to set the value of CMSSchedulerAcceptAllCertificates application key to true.
Developers can ensure that pages are only accessible over a secured protocol (HTTPS) by using the RequireHttpsAttribute. You can either secure individual controllers or register the attribute as a global filter for the entire website.