Setting timeouts for automation process steps
Enterprise license required
Features described on this page require the Kentico Xperience Enterprise license.
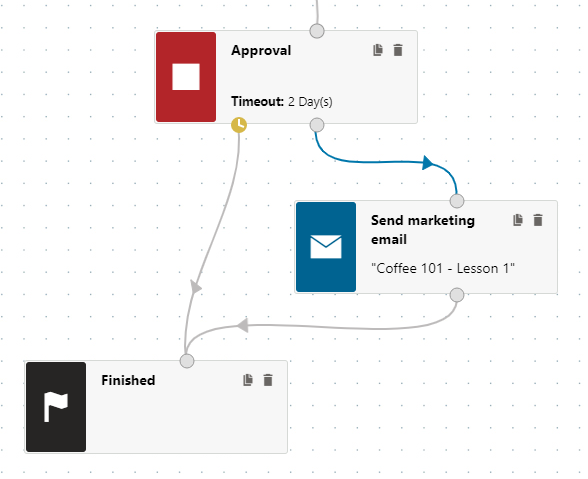
You can set timeouts to ensure that automation processes do not indefinitely stay in steps that require a human decision. If nobody moves a contact within a process to another step before the timeout expires, the system advances the contact automatically. The following types of steps support timeouts:
To add a timeout limit for a step:
Edit the step by clicking it in the designer grid.
- The designer opens a panel showing the details of the given step’s configuration.
Switch to the Advanced tab.
Under Timeout settings, specify when you want the process to move to the next step:
- Specific interval – set the length of the timeout interval. The time starts running when a contact moves into the step. Every instance of the process has a separate timeout counter.
- Specific day – set the exact date (and optionally time) when you want the process to move into the next step. Applies to all instances of the process.
Choose to which step the process continues if the timeout expires via the Leave through selector.
- You can select to have a separate timeout source point.
Click Apply.
If you selected a separate timeout source point as the Leave through option, connect the new source point to another step in the process designer.