
Assigning pages to categories
Categorizing allows you to distinguish and group together pages on your website, for example based on their topic. You can create a hierarchy of categories, and then use it to map pages to topics or other taxonomical groups.
The purpose of categories depends on your website’s implementation. Developers can use categories for page filtering and faceting (for example in searches), or to create other navigation options that allow visitors to move between pages with a related topic.
There are up to 3 types of categories that you can create and work with (depending on how administrators configured the system):
- Personal categories – these categories belong to a specific user only, however, you can use them across all available sites.
- Global categories – these can be used across all available sites.
- Site-specific categories – these can be used only on the site on which you created them.
Note: To learn about other possible ways of categorizing pages, see Categorizing pages.
Creating categories
Global and site
Open the Categories application.
(Optional) If you want to create the new category as a subcategory, click on an existing category in the panel to the left.
Note: You cannot create global categories under site categories.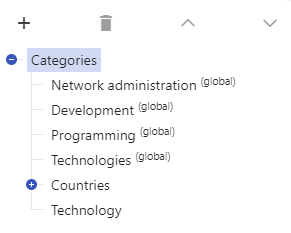
Click New category ().
(Optional) Unless you are creating the category under an existing Site category category, you can choose whether you want your category to be a Site category or a Global category.
Fill in the details of the new category.
Click Save.
The system creates the new category. You can now assign pages to the category.
Personal
Open the My profile application.
Switch to the Categories tab.
(Optional) If you want to create the new category as a subcategory, click on an existing category in the panel to the left.

Click New category ().
Fill in the details of the new category.
Click Save.
The system creates the new category. You can now assign pages to the category.
Assigning pages to categories
Depending on how your administrator configured the system, you can use two different approaches to categorize pages:
Properties tab
Open the Pages application.
Select the page that you want to categorize.
Switch to the Properties -> Categories tab. If the page is already assigned into any categories, you can see them listed.
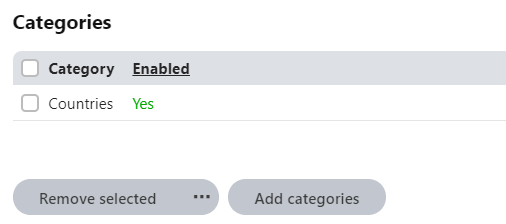
Click Add categories. The Select categories dialog opens.
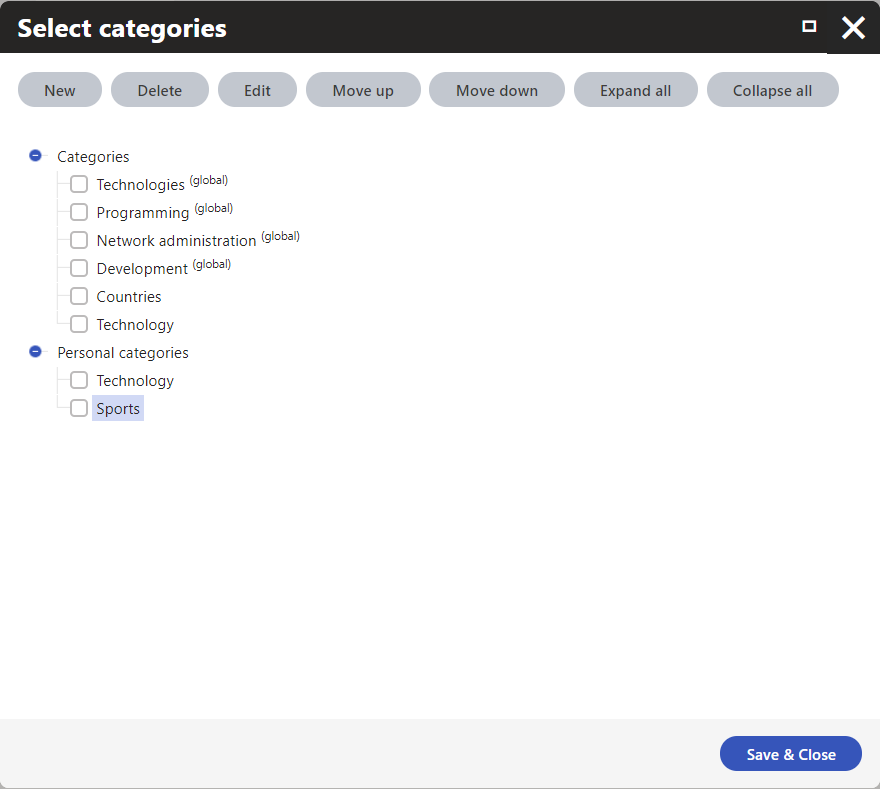
Select the checkboxes next to the categories to which you want to assign the page.
If the required category does not exist, you can create it directly in the dialog:
- Select the category under which you want to place the new category.
- Click New.
- Fill in the details of the new category.
- Click OK. You have created a new category and can now assign the page to the category.
Click Save & Close.
The system assigns the page to the selected categories.
Content tab
Open the Pages application.
Select the page that you want to categorize.
Switch to the Content tab and find the field used to manage categories. If the page is already assigned into any categories, you can see them listed.
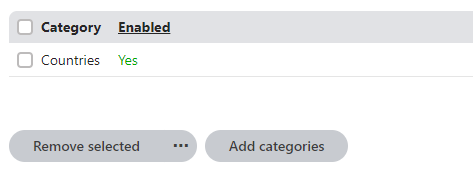
Click the Add categories button. The Select categories dialog opens.
Select the checkboxes next to the categories to which you want to assign the page.
If the required category does not exist, you can create it directly in the dialog.
Click Save & Close.
Back on the Content tab, click Save to confirm the changes.
The system assigns the page to the selected categories.
Automatic selection of categories
To make the assignment of the page into categories easier, you can automatically select the best fitting global and site categories for the page using Azure OpenAI.
Prerequisites
- You need to have the Xperience Azure OpenAI integration installed.
- The page you are assigning into categories must have at least some data stored in fields with Text or LongText data types. That is, the automatic selection doesn’t work for pages that are built entirely via Page builder .
To automatically select categories for the page, click the Auto-Select button in the Select categories dialog.
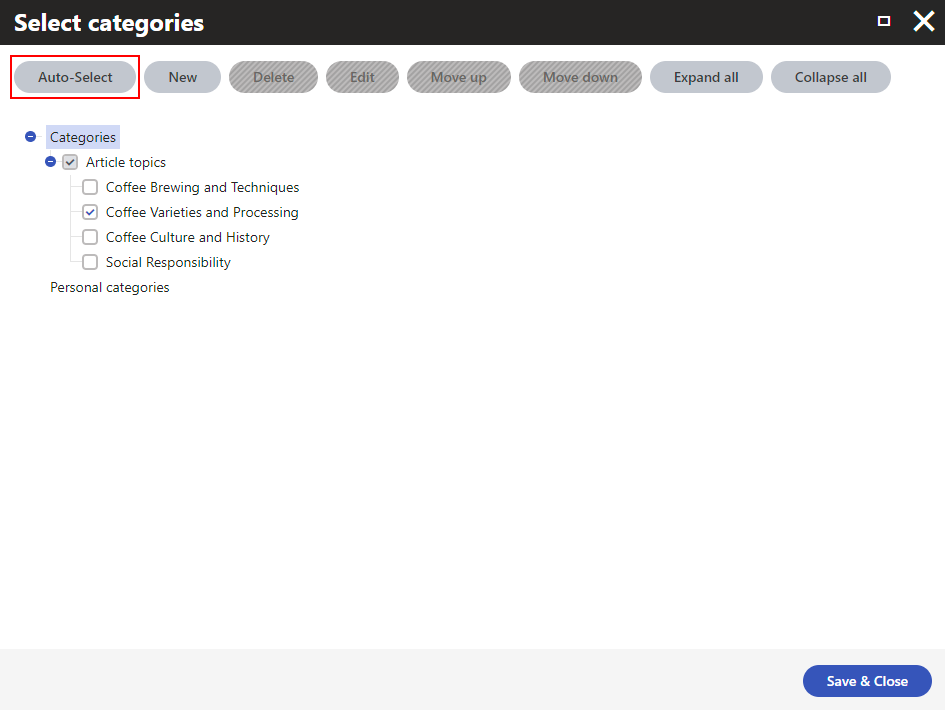
Note: The automatic selection disregards all preexisting category assignments. Consequently, using the Auto-Select on manually categorized pages may suggest a different set of categories for the page. You can always add any desired categories manually on top of the automatic selection.
Allowing specific page types within categories
To filter out irrelevant categories when assigning pages to global and site categories, you can allow only specific page types to be assignable to a given category:
Open the Categories application.
Select the category you want to scope page types for.
Switch to the Allowed page types tab.
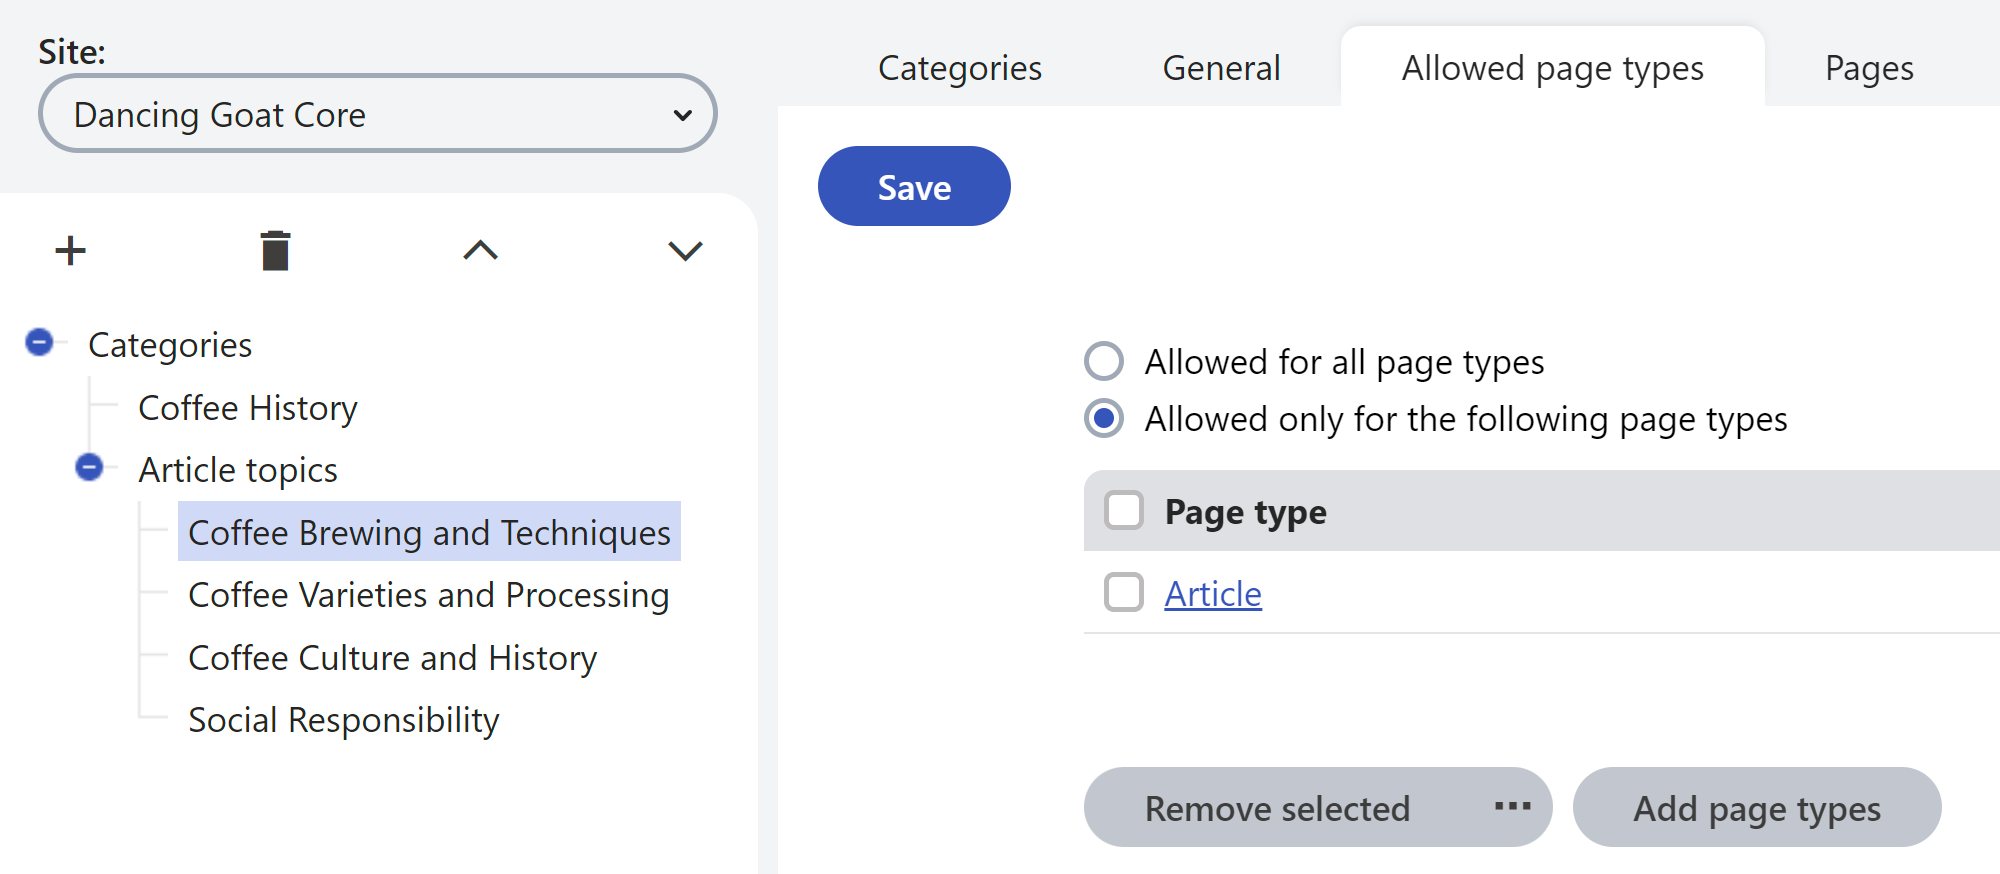
Select Allowed only for the following page types and Add page types. The Select page types dialog opens.
Select the page types you want to be assignable to the category.
Click Save.
Now, when assigning a page into categories, the Select categories dialog displays only categories allowed for the given page type.
Viewing pages in categories
The administration interface allows users to view which pages are assigned to any type of categories (site-wide or global, as well as personal categories).
Depending on the type of the category whose pages you want to view:
- For global and site categories – Open the Categories application.
- For personal categories – Open the My profile application and switch to the Categories tab.
Click on the category.
Switch to the Pages tab.

The system lists the pages assigned to the category. You can click the Edit () action to switch to the given page in the Pages application, or Navigate to a page () to open the live site.