
Setting up multilingual websites
Xperience websites can host content in multiple languages (cultures), which allows your content to reach a wider audience. Multilingual websites have separate versions of pages for each language. The system allows you to offer culture versions of the website to visitors based on various settings.
You can find a list of available cultures in the Localization application on the Cultures tab. All major cultures are provided by default. You can assign cultures to websites and then translate the content to the respective languages.
Multilingual user and administration interface
The administration interface of Xperience can also be multilingual. To learn more, refer to the Setting up a multilingual user interface chapter.
Setting up multiple cultures for websites
To add more cultures to a website:
- Open the Sites application.
- Edit () your site.
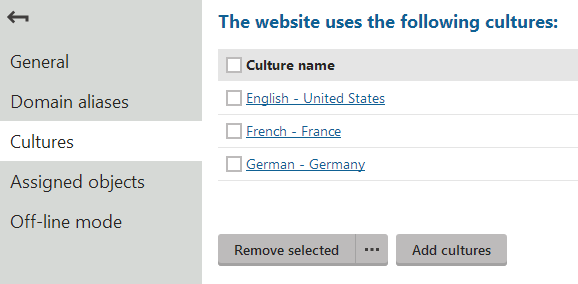
- Switch to the Cultures tab.
- Click Add cultures.
- In the selection dialog, choose the cultures you wish to use.
- Click Select.
Note: Adding or removing cultures for a site using content tree-based routing causes the system to generate a new culture-specific URL for every suitable page. Depending on your hosting environment, the operation may be time-consuming.
The cultures are now assigned to the website and editors can start translating pages.
Open the Pages application. You can now switch between languages using the selector below the content tree.
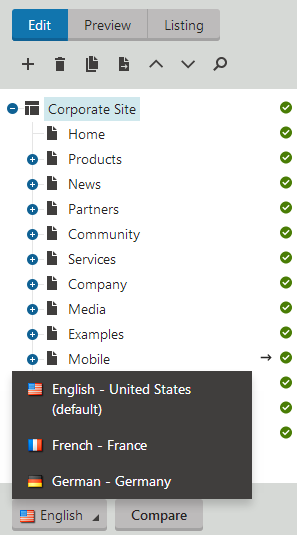
To learn how to manage pages for different cultures, continue with Editing the content of multilingual websites.
Setting the default content culture
Every website has a default content culture. You can modify the default culture settings of a site in:
- Settings -> Content -> Default content culture
- Sites -> Edit a site -> Default content culture
The two settings are interlinked. Values configured in one section are reflected in the other location.