
Editing content in rich text fields
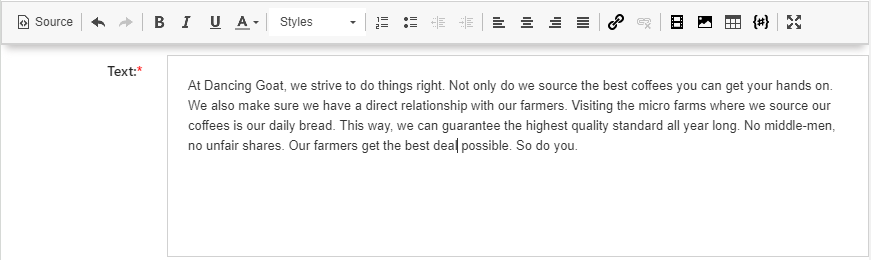
The editor for rich text fields allows you to work with the content of form fields in an WYSIWYG manner. This editor is present in various locations within the system, for example on the Content tab of pages in the Pages application, or in email marketing.
On this page, you can find the following:
- Inserting media content
- Working with links and anchors
- Adding HTML content
- Using the spell checker
- Analyzing text sentiment
Inserting media content
You can insert media content from various sources using the editor toolbar. The toolbar allows you to:
- Insert media stored on your computer – choose a media file directly from your computer.
- Insert media from the web – for example, an image or a video stored on a different website.
- Insert media stored in Xperience – media attached to a page or in a media library.
Automatically generated image alternative text
Appropriate alternative text values for images in your content improve the website’s accessibility and SEO capability. To help content editors set these values, you can ask your project administrators or developers to configure automatic generating of alternative text for images. This feature uses image recognition logic to provide alternative text in cases where it is not added manually.
For technical information about the image recognition, see Settings - Cognitive Services.
Inserting media stored on your computer
Click where you want to insert the media.
On the editor toolbar, click the Quickly insert media button. A dialog window opens.
Choose the file that you want to insert and click Open.
Optional steps
Modify the image properties by right-clicking the image with your mouse and choosing Properties. A dialog window opens.
Adjust the properties based on the media type that you are inserting.
Click Save & Close. The system places the modified image.
Inserting media from the web
With your mouse, click where you want to insert the media.
On the editor toolbar, click the Insert/Edit image or media button. An Insert image or media dialog window opens.

Switch to the Web tab.
Enter the URL of the resource into the URL field.
Try the automatic file type detection using the Refresh button. In case the file type cannot be detected, use the Media type drop-down list.
(Optional) Adjust the properties based on the media type that you are inserting.
(Optional) Preview how the media file looks with the properties that you applied to it.
Click Save & Close. The system places the media file.
Save the editing form you are editing.
Inserting media stored in Xperience
With your mouse, click where you want to insert the media.
On the editor toolbar, click on the Insert/Edit image or media button. An Insert image or media dialog window opens.
Depending on where the file that you want to insert is stored, switch to one of the following tabs:
- Attachments tab – for files attached directly to the page you are editing.
- Media libraries tab - for files stored in media libraries.
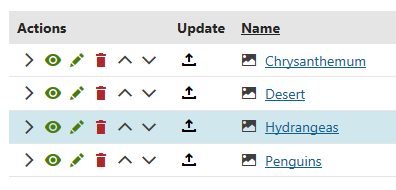
Select () the file that you want to insert.
(Optional) Adjust the properties based on the media type that you are inserting.
Click Save & Close. The system places the media file.
Save the editing form.
Example – Inserting media stored in Xperience
Look at this short video to see how to insert an image stored in a media library (demonstrated on our sample site):
Properties of media content inserted using the editor
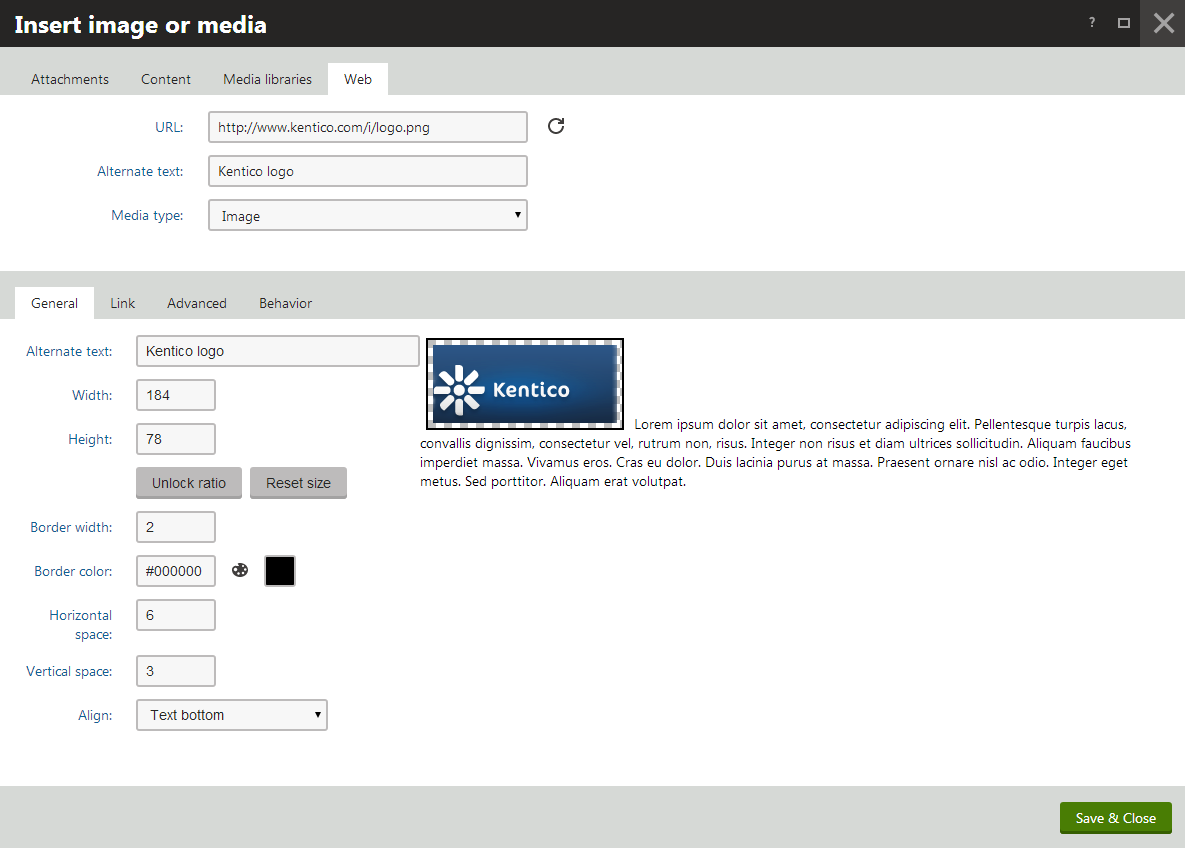
When inserting specific files using the editor, you may want to fill in certain advanced properties in the Insert image or media dialog:
General tab
- URL – URL of the attached image.
- Alternate text – the text used when the image is processed by a screen reader or if it cannot be loaded correctly in a browser. Appropriate alternative text values improve the website’s accessibility and SEO capability. If not specified, the system loads the value from the Description property in the metadata of the inserted image. You can also ask your project administrators or developers to configure automatic generating of alternative text for images. See Settings - Cognitive Services.
- Width, Height – the width and height of the displayed image; in pixels.
- Aspect ratio can be locked, which makes the second dimension recalculated automatically when you change one dimension, while the ratio between the two dimensions is kept.
- If unlocked, dimensions can be entered manually into both fields, without the ratio being kept.
- You can also reload the default dimensions using the Reset size icon.
- Border width – the width of the border around the displayed image.
- Border color – the color of the border around the image; has no effect when border width is not set.
- Horizontal space – horizontal space between the image and the surrounding text.
- Vertical space – vertical space between the image and the surrounding text.
- Align – image alignment.
Link tab
- URL – if set, the image will become a link to the resource defined by the entered URL. Settings on the Behavior tab are overridden.
- Target – the destination where the linked resource should be displayed when the image is clicked.
Advanced tab
- ID – the identifier of the image HTML element.
- Tooltip – the text displayed when the mouse cursor is placed over the image.
- Class – the image element CSS class.
- Style – image element additional styles.
Behavior tab
- None – the image is inserted as a standard image. When the image is clicked, no action is performed.
- Open full size in the same window – the image will become a link. When the image is clicked, its full size is displayed in the same window.
- Open full size in a new window – the image will become a link. When the image is clicked, its full size is displayed in a new window.
Working with links and anchors
You can make certain sections of the text clickable by creating hyperlinks. Once clicked, these links navigate users to different pages or, as described in working with anchors, to different sections of a page.
Working with links
You can create the following types of links in the editor:
- Attachment links – allow you to create links to the attachments of the page that you are currently editing.
- Content links – allow you to create links to pages from the content tree of any of the sites running in the system.
- Media library links – allow you to create links to content stored in media libraries.
- Web links – allow you to create links to different websites.
- Email links – allow you to create email links that create a new email in the user’s default email client and automatically fill in the fields that you specify.
- Anchor links – anchors allow you to navigate users to different sections of the same page.
Placing attachment links
Click in the text area where you want to create a link or select the text that you want to make into a link.
In the editor toolbar, click the Insert/Edit link button. An Insert link dialog opens.

Switch to the Attachments tab.
(Optional) If the attachment that you want to create a link to is not attached to the page, use the Upload button to attach it.
Select the attachment that you want to create a link to.
(Optional) If you have not marked any text that you want to make into a link, fill in the Link text field on the General tab.
On the Target tab, specify how the link opens once users click it:
- (not set) – the default setting, opens the link in the same browser window or tab as the page.
- (frame) – opens the link in the frame specified in the Target frame name field.
- New window (_blank) – opens the link in a new browser window.
- Same window (_self) – opens the link in the same browser window or tab as the page.
- Parent window (_parent) – opens the link in the browser window the current page is nested in.
- Topmost window (_top) – opens the link in the browser window that is positioned on the top.
(Optional) Specify Advanced properties.
- ID – the identifier of the link HTML element
- Name – the name of the link HTML object
- Tooltip – the text displayed when the mouse cursor is placed over the link
- Class – the link element CSS class
- Style – additional link element styles
Click Save & Close. The system creates the attachment link.
Save the editing form.
The attachment opens when a user clicks the link.
Placing content links
Click in the text area where you want to create a link or select the text that you want to make into a link.
In the editor toolbar, click the Insert/Edit link button. An Insert link dialog opens.
Switch to the Content tab.
In the Site drop-down list, specify the site on which the content that you want to link to is.
In the Content treeunderneath, select the section to which you want to link.
Select the specific page from the listing in the center.
(Optional) If you have not marked any text that you want to make into a link, fill in the Link text field on the General tab.
On the Target tab, specify how the link opens once users click it:
- (not set) – default setting, opens the link in the same browser window or tab as the page.
- (frame) – opens the link in the frame specified in the Target frame name field.
- New window (_blank) – opens the link in a new browser window.
- Same window (_self) – opens the link in the same browser window or tab as the page.
- Parent window (_parent) – opens the link in the browser window the current page is nested in.
- Topmost window (_top) – opens the link in the browser window that is positioned on the top.
(Optional) Specify Advanced properties.
- ID – the identifier of the link HTML element
- Name – the name of the link HTML object
- Tooltip – the text displayed when the mouse cursor is placed over the link
- Class – the link element CSS class
- Style – additional link element styles
Click Save & Close. The system creates the page link.
Save the editing form.
Now, when a user clicks on the link, they are navigated to the page that you specified.
Placing media library links
Click in the text area where you want to create a link or select the text that you want to make into a link.
In the editor toolbar, click the Insert/Edit link button. An Insert link dialog opens.
Switch to the Media libraries tab.
In the Siteand Library drop-down lists, specify the media library with the content you want to link.
(Optional) Use the Upload button to add the file you want to link to into the media library.
Select the media library item that you want to create a link to.
(Optional) If you have not marked any text that you want to make into a link, fill in the Link text field on the General tab.
On the Target tab, specify how the link opens once users click it:
- (not set) – default setting, opens the link in the same browser window or tab as the page.
- (frame) – opens the link in the frame specified in the Target frame name field.
- New window (_blank) – opens the link in a new browser window.
- Same window (_self) – opens the link in the same browser window or tab as the page.
- Parent window (_parent) – opens the link in the browser window the current page is nested in.
- Topmost window (_top) – opens the link in the browser window that is positioned on the top.
(Optional) Specify Advanced properties.
- ID – the identifier of the link HTML element
- Name – the name of the link HTML object
- Tooltip – the text displayed when the mouse cursor is placed over the link
- Class – the link element CSS class
- Style – additional link element styles
Click Save & Close. The system creates the attachment link.
Save the text you are editing.
Now, the media library opens when a user click the link.
Placing web links
Click in the text area where you want to create a link or select the text that you want to make into a link.
In the editor toolbar, click the Insert/Edit link button. An Insert link dialog opens.
Switch to the Web tab.
In the Protocol drop-down list, select the protocol on which the website you link to runs.
(Optional) If you have not marked any text that you want to make into a link, fill in the Link text field.
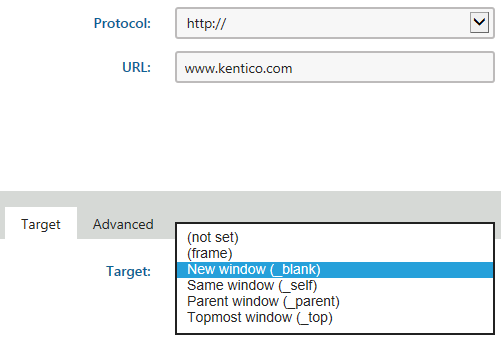
On the Target tab, specify how the link opens once users click it:
- (not set) – default setting, opens the link in the same browser window or tab as the page.
- (frame) – opens the link in the frame specified in the Target frame name field.
- New window (_blank) – opens the link in a new browser window.
- Same window (_self) – opens the link in the same browser window or tab as the page.
- Parent window (_parent) – opens the link in the browser window the current page is nested in.
- Topmost window (_top) – opens the link in the browser window that is positioned on the top.
(Optional) Specify Advanced properties.
- ID – the identifier of the link HTML element
- Name – the name of the link HTML object
- Tooltip – the text displayed when the mouse cursor is placed over the link
- Class – the link element CSS class
- Style – additional link element styles
Click Save & Close. The system creates the web link.
Save the text you are editing.
Now, when a user clicks the web link, the browser opens the new address as you specified.
Placing email links
Click in the text area where you want to create a link or select the text that you want to make into a link.
In the editor toolbar, click the Insert/Edit link button. An Insert link dialog opens.
Switch to the Email tab.
(Optional) If you have not marked any text that you want to make into a link, fill in the Link text field.
Fill in the fields that you want the user to have prefilled when they click the email link.
Click on Save & Close. The system creates the email link.
Save the text you are editing.
Now, when a user clicks on the email link, their default email client creates a new message and prefills the fields that you specified.
Working with anchors
Anchor hyperlinks allow you to create links to certain parts of a text. You can then use these links to navigate users to different sections of a page, for example, to different headers. Once a user clicks a link pointing to an anchor, the page scrolls to where you placed the anchor. You can place anchors anywhere in a text area.
Placing anchors
You can insert an anchor anywhere in a text area.
Click where you want to place the anchor.
In the editor toolbar, click the Anchor button. An anchor properties dialog appears.

Fill in the Anchor Name.
Click OK. The system places the anchor in the text.
Save the text you are editing.
You can now link to the anchor as described below.
Linking to anchors
Mark the text that you want to use as a link to the anchor that you created.
In the editor toolbar, click the Insert/Edit link button. An Insert link dialog opens.
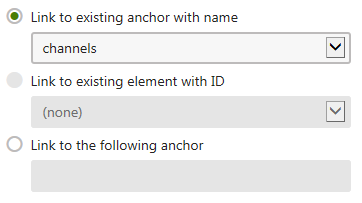
Switch to the Anchor tab.
In the Link to existing anchor with name, choose the anchor that you created previously. If you are creating a link to an anchor that does not yet exist, you can type its name in the Link to the following anchor field.
Click Save & Close. The system creates the link to the anchor that you specified on the page.
Save the text you are editing.
Now, when a user clicks on the link, the page scrolls to the anchor.
Adding HTML content
If you wish to directly add (or copy) HTML elements into the text content, first click the Source button on the editor toolbar.

This switches the text view to source mode, which displays the HTML code of the given content. You can edit or extend the code as required.
Empty tags in the text editor
When editing the content of the text editor using the Source button, you cannot add empty HTML tags, such as <i class=“icon-paragraph-o”></i>. Empty tags are removed by the editor when the source HTML is saved. A workaround is to add a character entity (a non-breaking space) between the tags.
Using the spell checker
The Editor comes with a spell checker that checks for mistakes as you type. The spell checker is available in the full editor toolbar.
On the editor toolbar, click the spell checker icon.
Click Enable SCAYT (Spell Check As You Type)
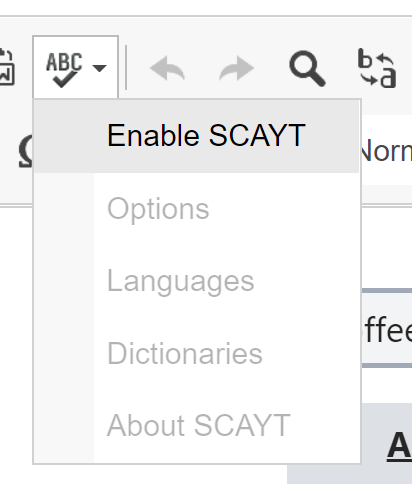
(Optional) Click the spell checker icon again and select Options to configure Languages, Dictionaries and other Options of the spelling checker.
Begin typing in the editor. The editor underlines the text it considers incorrect as you type.
Right-click any of the underlined text to see suggestions for correction.
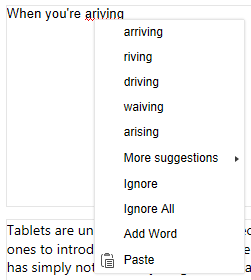
Click a suggestion and the editor automatically corrects the text.
Adding links to underlined words
It is currently not possible to add links to words underlined by the spell checker. If you want to add a link to an underlined word, you need to right-click the word and select Ignore before you highlight the word and add the link.
Analyzing text sentiment
When editing the content of rich text fields, you can utilize an integration with Microsoft Azure Text Analytics to analyze text and look for clues about positive or negative sentiment.
See Using text analytics to learn more.