
Entering macro expressions
The Xperience administration interface provides several features that help you:
- Build the macro expressions that you need
- Enter macros into the system
Using the macro autocomplete help
When typing in dedicated macro editing fields, the system offers an autocomplete assistance feature. The autocomplete also works if you write macro expressions in other locations, for example when editing email templates,transformations or HTML page layouts.
The autocomplete is similar to IntelliSense in Visual Studio – as you type, a box with the available macro methods and fields appears next to the cursor. If you continue typing, the autocomplete filters the list to include only items that contain the given text. You can navigate through the listed macros using the up and down arrow keys or the mouse. Once you select the appropriate item, press the Enter, Space or Dot key to insert the macro into the text.
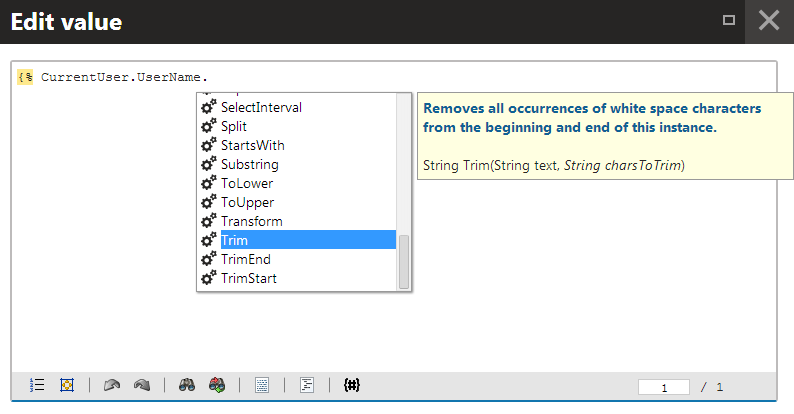
When accessing members of macro objects using the dot operator, the autocomplete shows a list of available methods and properties.
If you select a macro method in the autocomplete list, the help displays the method’s description and signature (the return type and parameters). Italics identify method parameters that are optional.
When creating macros within a specialized context, the autocomplete shows related macro fields in a high priority section. You can access prioritized macros at the top of the list, separated by a horizontal line.
Tip: To manually open the macro autocomplete, press Ctrl + Shift + Space.
Inserting macros into text and code fields
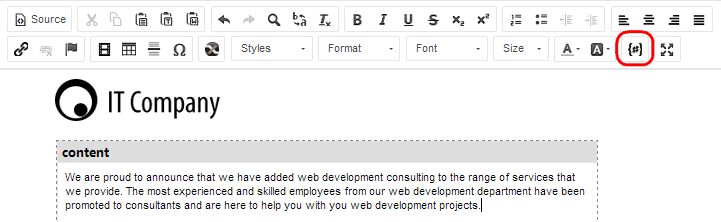
The system provides a shortcut for inserting macro expressions in the WYSIWYG editor, macro editors, and other types of code editors that support macros. For example, the feature is available when editing email templates, or the text of marketing emails in newsletters or email campaigns.
Click Insert macro () on the toolbar above or below the editing area.
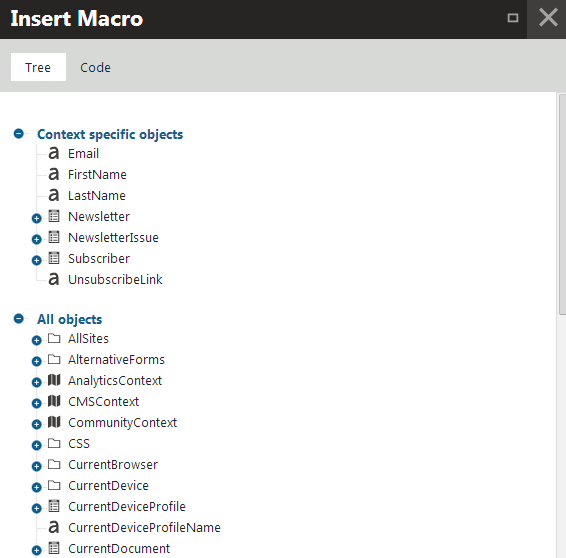
The Insert Macro dialog opens. You can explore a tree of all available macro options. Click on an item in the tree to insert the given macro into the edited area.
If you wish to write the macro expression directly (with autocomplete support), switch to the Code tab, type the macro code and click Insert.
The macro appears at the current position of the cursor in the edited area, enclosed within the {% %} macro parentheses.
Setting default form field values through macros
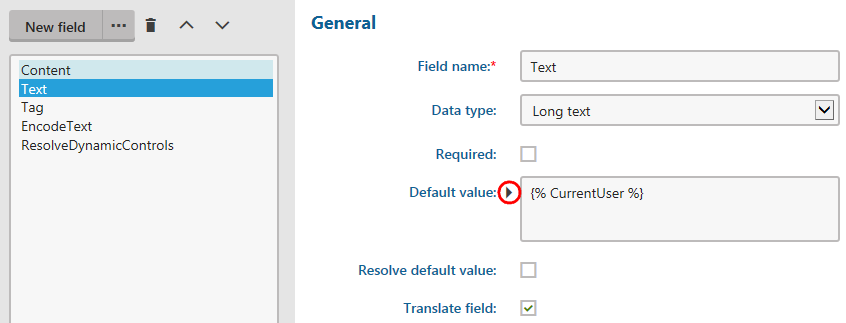
When defining fields for forms in the administration interface through the field editor, you can use macros to set dynamic default values (for both visible and hidden form fields).
Click Edit value () next to the Default value and write the macro in the Edit value dialog:
- If the field is visible in the editing form, the system resolves the macro directly when users open the form.
- If the field is hidden, the macro is resolved when the form is submitted.
If you place the macro directly into the Default value of text-based fields, the macro appears unresolved in the field when users view the resulting form.
Note
When editing fields for web part properties, form control parameters, or the properties of UI page templates, the resolving of macros added into default field values via the Edit value () dialog depends on the Resolve default value flag.