
Adding page content using widgets
Certain actions not working in the Chrome browser
Using newer versions of the Chrome browser causes errors when performing actions that open confirmation dialogs within the page and form builder interface.
For example, the problems may occur when deleting widgets and sections, or after canceling changes in a properties dialog. The browser’s console also logs the following error: “A different origin subframe tried to create a JavaScript dialogue. This is no longer allowed and was blocked.”
If you encounter these issues, make sure your site runs on hotfix version 13.0.38 or newer (consult with your developer team).
The page builder is a user-friendly UI feature which allows users to build pages using configurable widgets prepared by developers. The page builder lets you easily display various types of content using widgets directly from within the Xperience administration interface.
You can also make use of page templates to create new pages based on predefined page layouts or the content of existing pages.
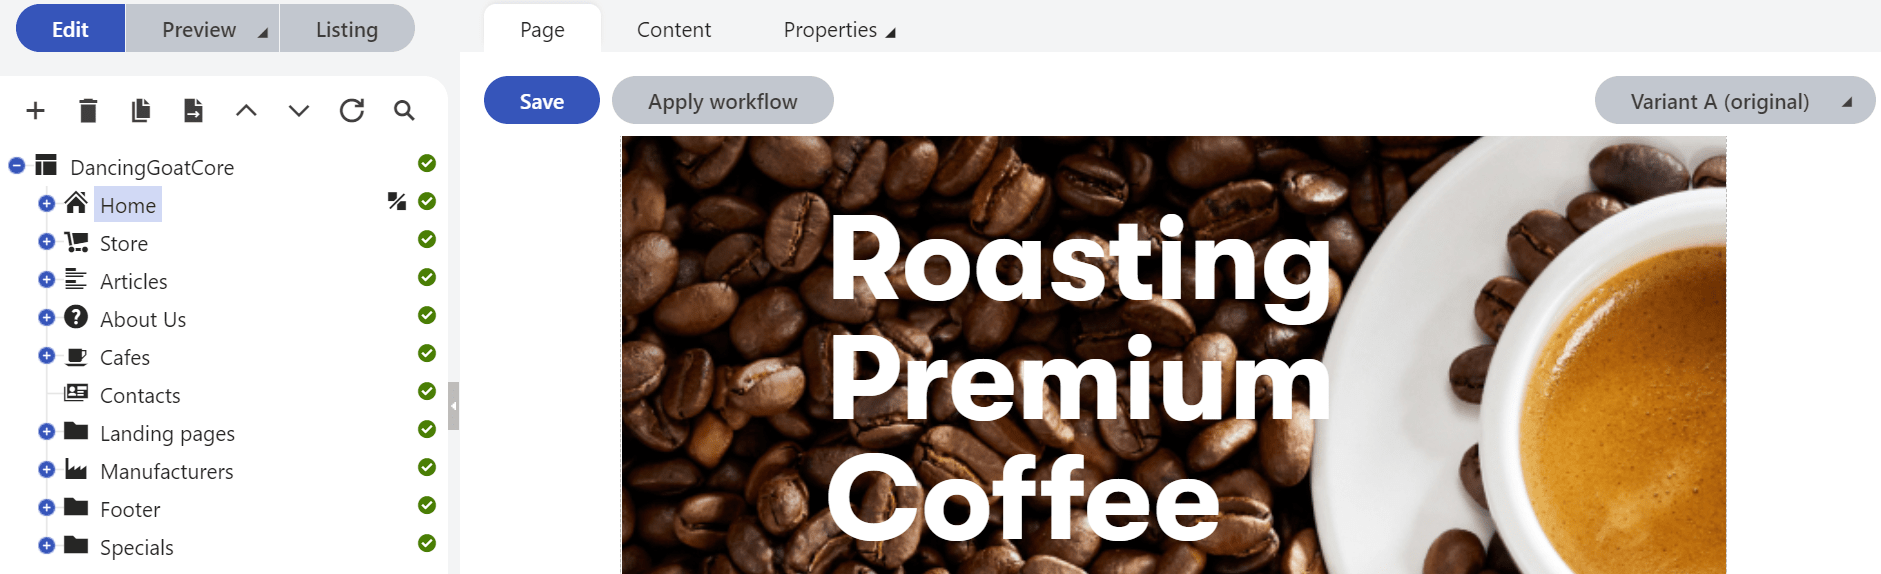
The page builder is available in the Pagesapplication on the Pagetab of pages that have the Page builder feature selected for their page types.
Prerequisite
A developer needs to set up the page builder feature and prepare pages with editable areas, before you can create and manage content using this approach.
Workflow and versioning
The content of widgets and sections is included within the scope of the workflow:
- Editing of widgets is restricted by the rules of the defined workflow steps
- Content changes do not appear on the live site until the page is published (after going through the workflow approval process)
- The system tracks saved widget changes as part of page versioning
The usual workflow would be as follows:
- In the Pages application, open a page where the page builder is set up.
- Adjust sections to achieve your desired visual layout of the page.
- Add widgets to the page to define the content.
Working with sections
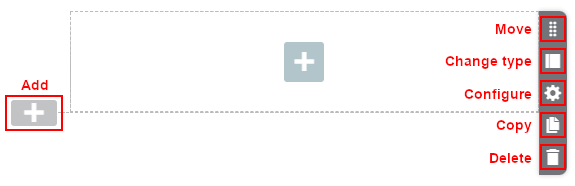
On a page where the page builder is set up, you can do the following actions with sections. UI elements that allow you to modify sections are gray:
- Add sections – Click a gray plus button located on the left side of an editable area to insert a new section. The list of available sections depends on the implementation of your website.
- Move sections – Hover over a section and drag it by the drag handle.
- Change section type – You can change the type of a section to adjust the arrangement of a page. To do so, hover over the section you want to modify, click the section type button, and select the section type you want to use.
- Configure sections(only displayed for configurable sections) – Click the configure button, edit the section properties in the configuration dialog, and click Apply. Check with your site’s administrators or developers for more information about the section types on your website and their properties.
- Copy sections – Select a section you want to copy and click the copy button in the upper right corner of the section to copy a section with all widgets in the section.
- You can paste the copied sections onto any page that uses the page builder using the Add section button.
- A section can only be pasted into an editable area if all widgets in the copied section and the section itself are allowed in the area.
- The copy feature allows you to store up to 10 sections for 12 hours.
- Note: When copying sections with properties containing page attachments from one page to another, the attachment are not copied automatically.
- Delete sections – Hover over the section you want to remove and click the delete button in the upper right corner of the section.
Each section defines one or more zones, where you can add widgets.
After making any changes on the page, do not forget to click the Save button. Changes made to the sections can be previewed in the Preview mode.
Working with widgets
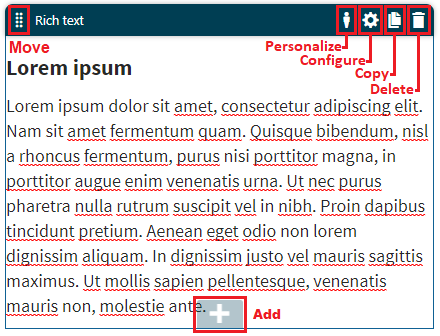
On a page where the page builder is set up, you can do the following actions with widgets. UI elements that allow you to modify widgets are blue:
Add widgets – Click a blue plus button to insert a widget to the desired location.
- The list of widgets available in the dialog depends on the implementation of your website.
- To filter the displayed widgets, type in the widget name or its part into the search box and press Enter.
- You can find up to 4 of your recently added widgets at the top of the dialog.
Move widgets – Click on a widget and drag it by its handle or full header to a different position.
Personalize widgets – See Personalizing widgets.
Configure widgets (only displayed for configurable widgets) – Click the configure button, edit the widget properties in the configuration dialog, and click Apply.
Copy widgets – Click on a widget you want to copy and click the copy button in the upper right corner of the widget. You can then paste the copied widgets on any page that uses the page builder through the Add widget functionality. This feature allows you to store up to 10 widgets for 12 hours. Note: When copying widgets with properties containing page attachments from one page to another, the attachment are not copied automatically.
Delete widgets – Click on a widget you want to remove and click the delete button in the upper right corner of the widget.
Configuring widgets
Widget configuration options and property editors are implemented individually with each widget. For more information, visit your project’s documentation or contact your developer.
After making any changes on the page, do not forget to click the Save button. Changes made to the widgets can be previewed in the Preview mode.
Storing files for use in the page builder
When editing content of widgets or sections, you can store media files either directly as page attachments or using media libraries. These two approaches vary in different ways:
- Page attachment files are associated only with a specific page. You should store media files as page attachments only if the files are considered to be a content of a particular page (e.g. a language specific variant of an image).
- Media library files are available for all pages of a particular site. You should store files using media libraries when the file content is reusable or the files are more relevant to the visual of the page than to its content (e.g. a background image used on all pages with a similar layout).
This is important to remember especially when creating page templates from existing pages. New pages created from templates won’t display any page attachments, because the attachments stay bound to the original pages as their content. On the other hand, template based pages will display media library files automatically.