
External authentication
External authentication allows visitors to sign in to an application or website using their existing social media credentials, such as Facebook, Twitter, or Google. This eliminates the need for users to create a separate account for the application or website they want to use and simplifies signing in.
To implement social provider authentication, the application or website must integrate with the social platforms’ authentication APIs, which allow users to grant permission for the application to access their account information. Once a user grants permission, the application receives an access token that it uses to authenticate the user for future sessions (typically a cookie).
There are several benefits to implementing authentication using social providers.
- It simplifies the process for users, as they can use their existing social media credentials to access the application or website.
- It can help increase the number of users who sign up for the application or website.
- It can improve the security of the application or website, as social media platforms typically have more robust security measures than individual websites or applications.
Xperience by Kentico uses ASP.NET Identity to manage user accounts. When implementing this authentication method for Xperience projects, you are can choose from the providers supported by Identity, such as Facebook, Twitter, Google, and other OAuth/OIDC-compliant platforms. See the Identity documentation for details.
Prerequisites
Before implementing external authentication, you must enable and configure ASP.NET Identity in your web application.
Configure provider integration
To configure social provider authentication for your application:
- Create and configure an application for your Xperience project on the side of the external provider.
- Save the application ID and application secret values.
- See General security considerations for a list of security practices to keep in mind when configuring the application.
- Install the Microsoft.AspNet.Authentication.* NuGet package for the provider you want to support.
- Call the corresponding extension methods when configuring authentication for the application in Program.cs.
- Configure the integration.
The following code sample configures Google authentication using the Microsoft.AspNet.Authentication.Google package.
builder.Services.AddIdentity<ApplicationUser, NoOpApplicationRole>(options =>
    {
        options.SignIn.RequireConfirmedAccount = true;
    })
        .AddUserStore<ApplicationUserStore<ApplicationUser>>()
        .AddRoleStore<NoOpApplicationRoleStore>()
        .AddUserManager<UserManager<ApplicationUser>>()
        .AddSignInManager<SignInManager<ApplicationUser>>();

// Adds and configures Google authentication
builder.Services.AddAuthentication()
       .AddGoogle(googleOptions =>
            {
                googleOptions.ClientId = "<Google_App_ID>";
                googleOptions.ClientSecret = "<Google_App_Secret>";
            });
Storing application secrets
We do not recommend storing application secrets (ClientSecret property) directly in code or application configuration files (e.g., appsettings.json). See Securely store application secrets for recommendations.
Implement the authentication flow
The implementation of an authentication flow can vary depending on the application’s specific requirements. This section introduces a basic flow that you can further extend.
Render buttons that invoke the authentication flow for a corresponding provider in a suitable location in your application.
@inject SignInManager<ApplicationUser> SignInManager

var signInProviders = (await SignInManager.GetExternalAuthenticationSchemesAsync());
if (signInProviders.Any())
{
    @* Generates a form with buttons targeting the RequestExternalSignIn action.*@
    <form asp-action="RequestExternalSignIn" method="post">
        <div>
            @foreach (AuthenticationScheme provider in signInProviders)
            {
                <button type="submit" name="provider" value="@provider.Name">@provider.Name</button>
            }
        </div>
    </form>
}
Selecting one of the rendered buttons triggers the following flow:
The application contacts an external provider that prompts visitors to authenticate using their interface. Which provider gets contacted is determined by
value="\@provider.Name".After the visitor authenticates using the external provider, the application receives information about the user, and can:
- Create an account for them in the database.
- Create and bind the used external provider to the created account (to identify and match further sign-in attempts from the user).
The following code continues the Google authentication example from the previous section. However, the code can be reused by any external provider.
public class AccountController : Controller
{
    private readonly IEventLogService eventLogService;
    private readonly UserManager<ApplicationUser> userManager;
    private readonly SignInManager<ApplicationUser> signInManager;

    // Gets required services using dependency injection
    public AccountController(UserManager<ApplicationUser> userManager,
                             SignInManager<ApplicationUser> signInManager,
                             IEventLogService eventLogService)
    {
        this.userManager = userManager;
        this.signInManager = signInManager;
        this.eventLogService = eventLogService;
    }

    // Redirects authentication requests to an external service
    [HttpPost]
    [ValidateAntiForgeryToken]
    public IActionResult RequestExternalSignIn(string provider)
    {
        // The URL to redirect to after successful authentication
        string redirectUrl = Url.Action(nameof(ExternalSignInCallback));

        // Configures the redirect URL and user identifier
        // for the specified external authentication provider
        AuthenticationProperties authenticationProperties =
            signInManager.ConfigureExternalAuthenticationProperties(provider, redirectUrl);

        // Challenges the specified authentication provider
        return Challenge(authenticationProperties, provider);
    }

    // Processes the response from external providers
    [HttpGet]
    public async Task<IActionResult> ExternalSignInCallback(string remoteError = null)
    {

        // Extracts login info out of the external identity provided by the service
        ExternalLoginInfo loginInfo = await signInManager.GetExternalLoginInfoAsync();

        // If the external authentication fails, displays a view with appropriate information
        if (loginInfo == null)
        {
            return RedirectToAction(nameof(ExternalAuthenticationFailure));
        }

        // Synchronizes the external account with Xperience's database
        await SynchronizeExternalAccount(loginInfo);

        return Redirect($"/");
    }

    private async Task SynchronizeExternalAccount(ExternalLoginInfo loginInfo)
    {
        var providerKey = loginInfo.ProviderKey;

        // If the external login doesn't exists in the database either a new
        // visitor is signing in or an existing visitor is signing in using a different provider
        if (await userManager.FindByLoginAsync(loginInfo.LoginProvider, providerKey) == null)
        {
            // Gets an email from external claims
            var email = loginInfo.Principal.FindFirstValue(ClaimTypes.Email);

            // Checks whether the account already exists
            // Uses the email address as a common link among multiple providers
            var user = await userManager.FindByEmailAsync(email);
            var login = new UserLoginInfo(loginInfo.LoginProvider, providerKey, null);

            if (user != null)
            {
                // If the account already exists the visitor is using a different
                // external provider. Bind the new external login to an existing account.
                await userManager.AddLoginAsync(user, login);
                await SignInExternal(loginInfo);
            }
            else
            {
                // Otherwise, a completely new visitor is signing in.
                // Create their account and corresponding external login.

                // Creates the user object
                user = new ApplicationUser
                {
                    // Accounts must be enabled to be granted access to the system
                    // For external accounts, it is safe to always set this property to true
                    // without implementing additional verification measures.
                    // The external provider ensures authenticity of the received data.
                    Enabled = true,
                    Email = email,
                    UserName = email,
                    // Flag to identify external accounts
                    IsExternal = true
                };

                // Creates the user account
                await userManager.CreateAsync(user);
                // Binds the external login to the created account
                await userManager.AddLoginAsync(user, login);
                await SignInExternal(loginInfo);
            }
        }
        // Otherwise, sign in the visitor
        else
        {
            await SignInExternal(loginInfo);
        }
    }

    private async Task SignInExternal(ExternalLoginInfo loginInfo)
    {
        // Attempts to sign in the user using the external login info
        SignInResult result =
            await signInManager.
                ExternalLoginSignInAsync(loginInfo.LoginProvider, loginInfo.ProviderKey, true);

        // Success occurs if the user already exists in the connected database
        // and has signed in using the given external service
        if (result.Succeeded)
        {
            eventLogService.LogInformation("External authentication",
                "EXTERNALAUTH", $"Visitor signed in via {loginInfo.LoginProvider}.");
        }
        else
        {
            eventLogService.LogError("External authentication",
                "EXTERNALAUTH", $"External sign in error.");
        }
    }

    public IActionResult ExternalAuthenticationFailure()
    {
        return View();
    }
}
Enabling created accounts
When creating ApplicationUser objects for new external registrations, always set the object’s Enabled property to true. The property controls whether the account can sign in to the system. See Remarks - ApplicationUser.Enabled for more information.
Authentication scopes and claims mapping
Claims are key-value pairs that contain verified information about a user. In the OAuth/OIDC authentication flow, claims are sent by the identity provider within ID Tokens. Generally, these tokens are processed by the application, and the information is mapped to some internal representation. In Xperience, this is the MemberInfo object (for more information about Xperience’s Identity architecture, see Registration and authentication).
To facilitate working with claims, use the ClaimTypes class that provides the most common OIDC-compliant claim key identifiers in an easily accessible format. For example, ClaimTypes.Email resolves to the name of a key under which the user’s email should be stored in the ID token received by the application.
What claims get included in ID tokens is controlled by authentication scopes. Authentication scopes are sent together with the authentication request.
builder.Services.AddAuthentication()
       .AddGoogle(googleOptions =>
            {
                googleOptions.ClientId = "<Google_App_ID>";
                googleOptions.ClientSecret = "<Google_App_Secret>";
                // Requests a claim containing the user's birthday
                googleOptions.Scope.Add("https://www.googleapis.com/auth/user.birthday.read");
            });
See the documentation of your chosen provider for a list of available scopes. The OAuth/OIDC specification doesn’t enforce any scope naming policies.
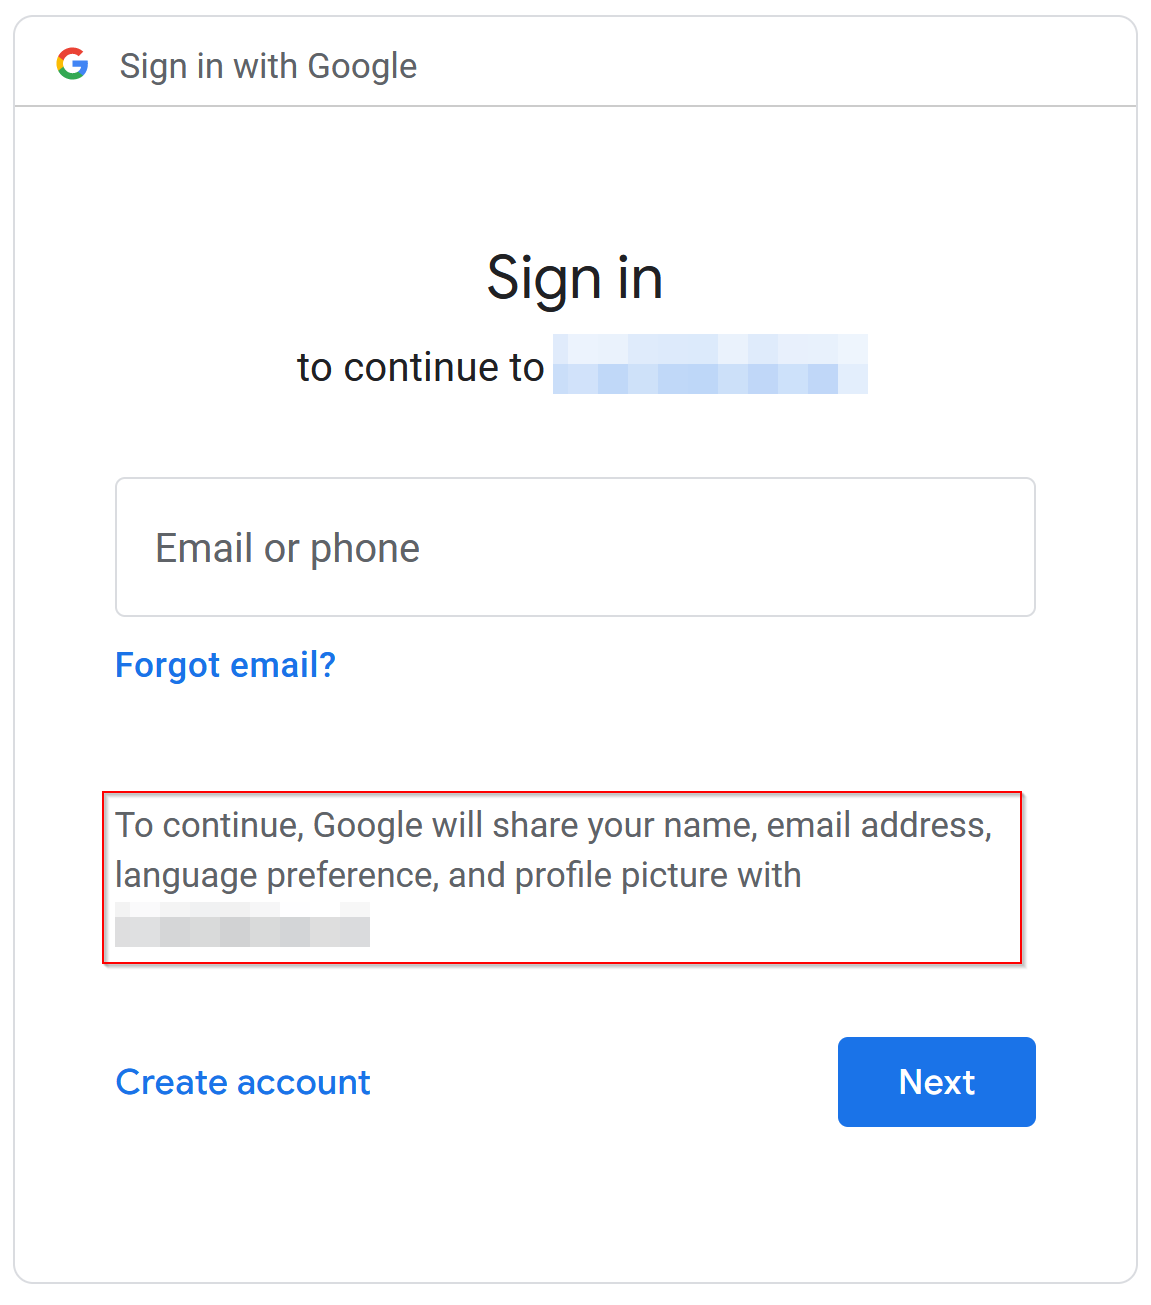
In most cases, the Xperience application registration on the provider’s end must also explicitly enable all additional scopes requested by the app. For Google, this is done in the OAuth consent screen configuration. When signing in, visitors are notified about the information your application requests. The enabled scopes directly affect this consent screen.
With the additional claims now being returned as part of ID tokens, you can map the information to the visitor’s account in Xperience.
- Prepare additional fields to hold your data. See Add fields to member objects.
- Map received claims to the added fields.
The following sample demonstrates a class extended with the FirstName property. You can extend the mapping logic within the sample [AccountController.SynchronizeExternalAccount](#implement-the-authentication-flow){.internal-link} method
user = new ExtendedApplicationUser
{
    Enabled = true,
    Email = email,
    IsExternal = true,
    // Maps the user's first name from the returned claims
    FirstName = loginInfo.Principal.FindFirstValue(ClaimTypes.GivenName)
};
General security considerations
When configuring external authentication for your projects, consider the following practices and recommendations.
Use HTTPS
Always communicate with the external provider using HTTPS to reduce the probability of a third-party obtaining unencrypted sensitive information about your application and users. This generally applies when configuring callback/redirect URIs and additional features such as sign-out redirects for your application on the provider’s end.
Use token expiration
Access tokens should have an expiration time to limit the lifetime of the token and reduce the risk of unauthorized access. You can set the lifetime of authentication cookies when configuring Identity for your application.
builder.Services.ConfigureApplicationCookie(options =>
    {
        options.ExpireTimeSpan = TimeSpan.FromMinutes(60);
    });
Use a separate application registration per physical application
Always make sure to register and configure a new application on the side of your external provider for each separate project you plan to integrate. This approach provides the following benefits:
- Isolation of access: You allow for more granular control over access to each application. For example, if a client secret for one application is compromised, it would not affect the other applications.
- Least Privilege: You can assign only the minimal set of permission required by each application, reducing the risk of privilege escalation.
- Auditing and tracking: Tracking and auditing access to each application is easier. This can help identify and investigate suspicious activity.
- Easy Revocation: It is easier to revoke or modify the access of one application while keeping the access privileges of other applications intact.
Securely store application secrets
As a general security best practice, it is not recommended to store application secrets directly in code or application settings. Instead, consider using the following alternatives.
During development
When implementing and testing external authentication locally, use the Secrets Manager utility provided by dotnet. The utility abstracts key management and storage. However, note that keys stored using the manager are not encrypted – use this approach only for local development.
cd "C:\my\xperience\WebApp\"

# Initialize the Secrets Manager
dotnet user-secrets init

# Stores a secret for local development
dotnet user-secrets set "Project:ExternalAuthProvider" "12345"
var builder = WebApplication.CreateBuilder(args);
...
// Reads the secret and stores it in a variable
var externalAuthApiKey = builder.Configuration["Project:ExternalAuthProvider"];
On production sites
When deploying production sites, consider the following options: