
Edit and publish pages
Key points
You can:
- edit structured content of pages in the Content view mode.
- edit pages built with the Page Builder in the Page Builder view mode.
- edit, rename and publish pages only in the Draft step or a custom workflow step.
- archive Published pages.
Edit content of structured pages
Structured pages contain data stored within editable page fields. The fields depend on the specific content type. For instance, the fields can be used to store text, numbers, or images.
To edit a structured page:
- Open a website channel application.
- In the content tree, select the page that you want to edit.
- Make sure the page is in the Draft status or another custom workflow step.
- When a page is Published, select Edit page to move the page to the Draft step.

- When a page is Archived, select Create new version to move the page to the Draft step.

- When a page is Published, select Edit page to move the page to the Draft step.
- In the Content view mode, edit the fields of the page.
- Save the changes.
Note that the changes are not visible on the live site until you publish the page.
Edit content of Page Builder pages
Add tags to pages
Depending on the configuration of your project, pages may support taxonomies and tags.
- Edit a page that has a field with the tag selector.
- Select tags that describe the page.
- Save the changes.
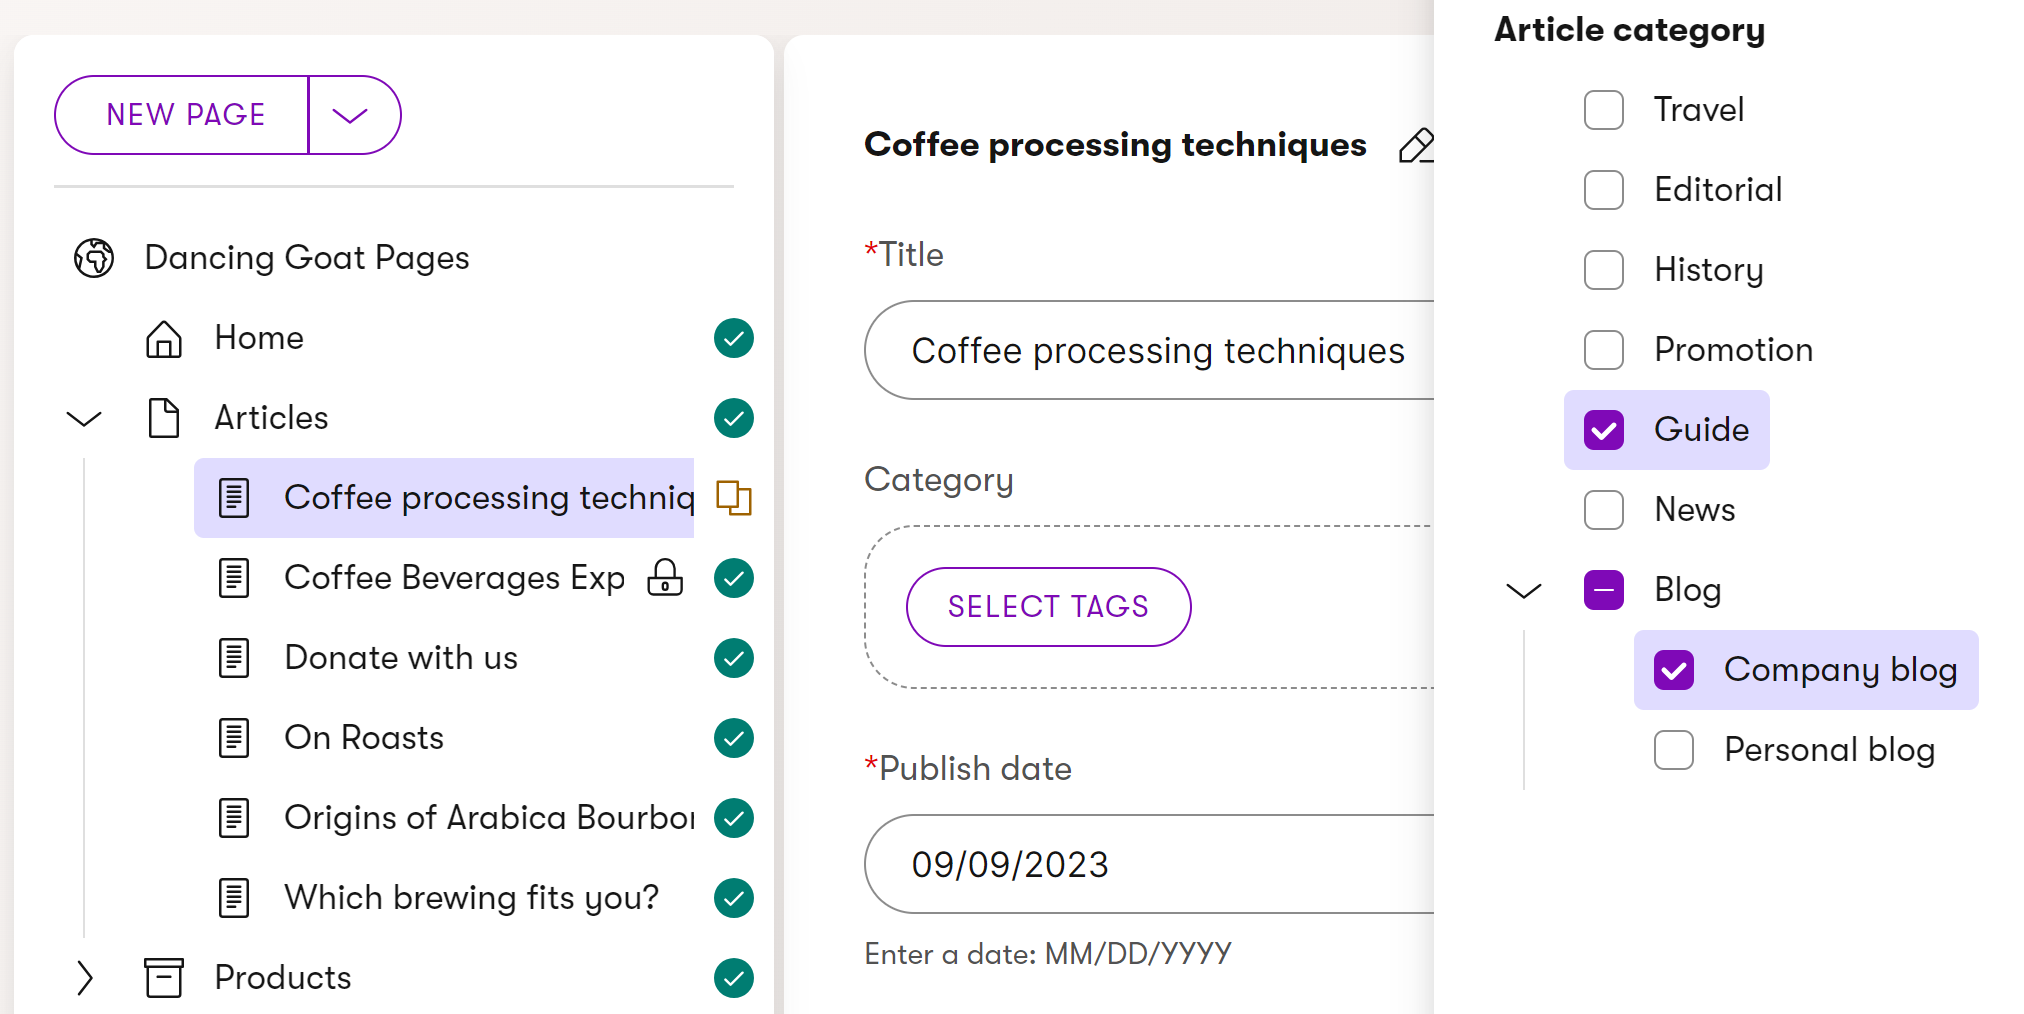
The selected tags are now stored with the page. Developers can use the information to display content based on tags.
Publish pages
Pages can be published under the following conditions:
- If the page’s content type is under workflow, the page must be in the workflow’s last step.
- For pages that are not under workflow, the page must be in the Draft step.
In order to publish a page:
Open a website channel application.
In the content tree, select the page that you want to publish.
Make sure the page is in the Draft status or the last step in a custom workflow.
- When a page is Archived, select Create new version to move the page to the Draft step.
- When a page is Archived, select Create new version to move the page to the Draft step.
Select Publish. For pages under workflow, select Change workflow step and choose the Publish step.

If the page has fields or Page Builder widgets linking to reusable content items, the Select what should be published dialog opens. You can view all linked content items that are currently not in the Published step. Select any of the listed content items to publish them together with the page. To learn more about cascade publishing, see Content hub.
Cascade publishing is only supported for reusable content items (managed in Content hub). Pages linked through fields or widget properties using the Page selector component are not included in the Select what should be published dialog.
The page is now Published and available on the live site.
Revert changes
After creating a new version of a page, it goes through a new editing cycle with the Draft step and optionally other custom workflow steps.
At any time before the new version is published, you can revert the page back to the last Published status. All changes made in any workflow step will be lost.
- Open a website channel application.
- In the content tree, select the page whose changes you want to revert.
- Revert to published the changes.

Archive pages
An archived page is not available on the live site, but you can still access it from the administration.
To archive a page (and thus remove it from the live site):
- Open a website channel application.
- In the content tree, select the page that you want to archive.
- You can archive only Published pages. See how to publish pages.
- Archive the page.

The page is now Archived.
To edit or re-publish an archived page, you first need to select Create new version. This transitions the page back to the Draft workflow step.
Rename pages
To rename a page:
- Open a website channel application.
- Navigate to the web page you want to rename.
- In the Content view mode, select the edit () button next to the page name.
- Enter the new name and Save the changes.
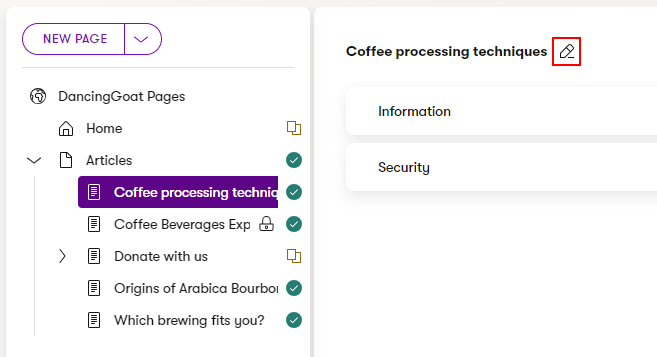
The change of the page name is immediately reflected in the page tree.
Move pages
Depending on how your website is implemented, page structure and order in the content tree can represent more than a simple visual structure within the website channel application. Consult with your website administrator if you are not sure about how moving pages in the content tree reflects on your website.
To move or reorder pages in the content tree:
- Open a website channel application.
- In the content tree, select the page you want to move. The drag handle icon () is displayed next to the page name.
- Drag the page to the desired location. To move a page under a different parent page, hover over the dropzone to the left of the new parent page:
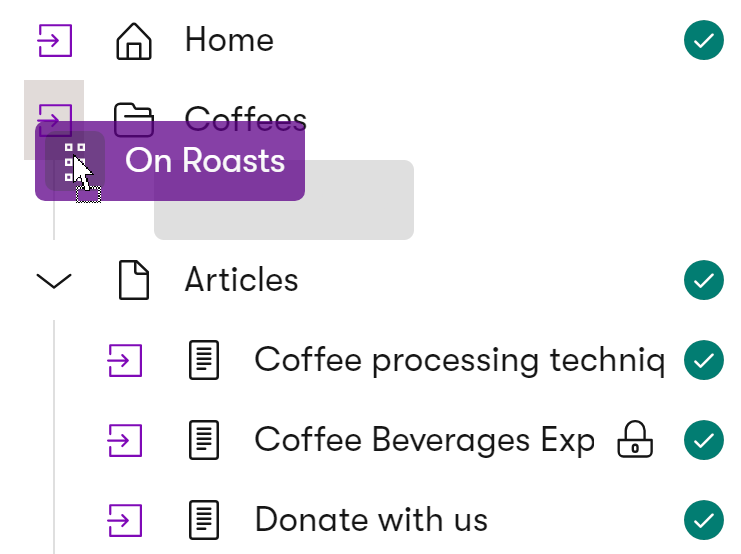
Note: After moving or reordering pages, the changes are immediately saved and reflected on the live site.
Change URLs of pages
See Manage page URLs.