
Manage page URLs
Xperience allows you to modify URLs that are generated via the content tree-based routing. You can manage the URLs of pages in the Content → URL section when editing a page in a website channel application. The system can also track changes of URLs and store old URLs for redirection purposes. These former URLs can be managed in the Former URLs application.
Edit URL slugs of pages
A ‘slug’ is the part that comes at the very end of a URL, and refers to a specific page or post. For example, for the URL example.com/Articles/News/Tea-Blends/, the URL slug is ’Tea-Blends’. The URL of a page also includes URL slugs of the page’s ancestors. For more information about how page URLs are generated, see Page URL generation.
When you create a new page, the slug is automatically generated from the page’s title. Past this point, any changes to the page title do not get reflected in the slug. You need to change it manually if required:
- Open a website channel application.
- In the content tree, select the page that you want to edit
- You may not be able to edit the URL slug of every page in the content tree. This depends on the configuration of the page’s underlying content type. If you are not sure, consult with your site’s administrator.
- Make sure the page is in the Draft status or another custom workflow step.
- When a page is Published or Archived, you need to select Edit page or Create new version in the Content view mode. This transitions the page to the Draft step and enables editing and publishing of the page.
- In the Content view mode, edit the URL slug field in the URL section.
- Note: Changing URL slug of a page may also affect URLs of all of the page’s descendants.
- Some characters may be forbidden from use in URL slugs (e.g., ‘#’, ’ / ‘,’ $ ‘,’ & ’ ), depending on the settings of your site. Administrators can adjust these settings in Settings → URLs and SEO → URL format.
- Save the change.
You have now successfully changed the URL of the page. Note, that the page is now a Draft. The page needs to be published in order to be accessible under the new URL.
URL collision prevention
A site cannot have two pages with identical URLs. Depending on the situation, the system handles collisions in two ways:
- By appending the page’s GUID at the end of the URL slug of the page. For example: https://example.com/Articles/Tea-Blends-ae64db90387143b1a4562e06b67d1970. This occurs when:
- You move a page and the destination already contains a page with a matching URL slug.
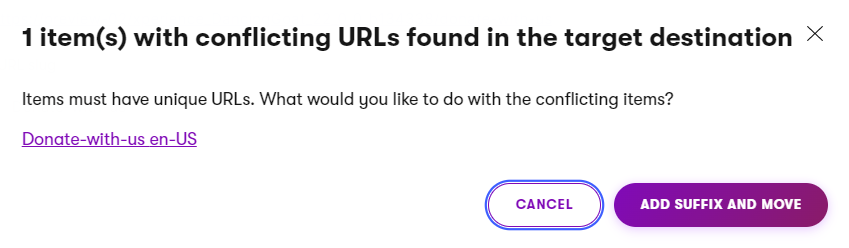
- You move a page and the destination already contains a page with a matching URL slug.
- By preventing the URL from changing and displaying an error message. This occurs when:
- You attempt to change the URL slug of a page and the resulting URL matches one already in the system.
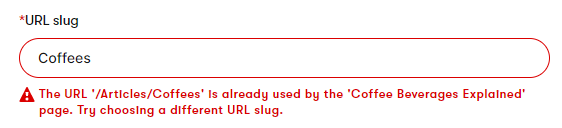
- You attempt to change the URL slug of a page and the resulting URL matches one already in the system.
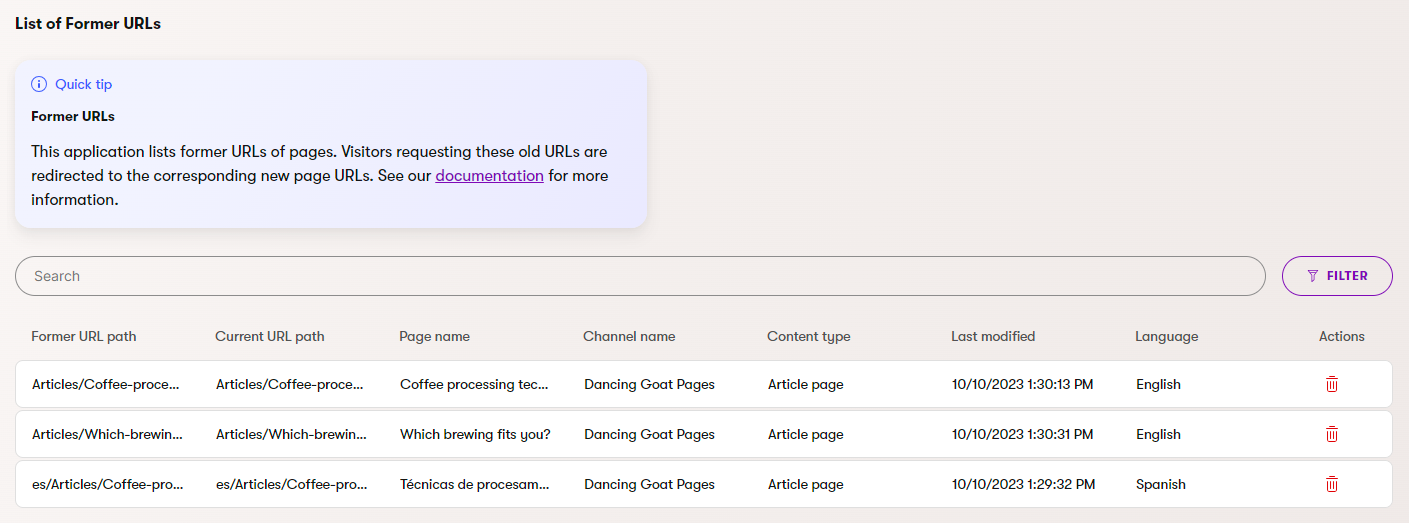
Former URLs
The system can automatically keep track of page URL changes by storing old URLs and handling redirects to the current URLs. You can see and manage these redirects in the Former URLs application.
Set up former URLs
To set up the former URLs feature in your project:
- Open the Channel management application.
- Select the website channel for which you want to set up former URLs.
- Open Channel settings.
- Select the Store former URLs setting.
- Save the changes.
Former URLs are now set up for the given website channel. Every time a former URL is requested, the system returns a “301 Moved Permanently” response and redirects to the new URL of the page.
To access a list of all stored old URLs for the website, together with the current URL paths to which they are redirected, open the Former URLs application.
Former URLs scenarios
Former URLs are created when you change a page’s URL by:
- Editing the URL slug for the given page or one of its parent pages.
- The former URL is created only after you publish the page with the new URL.
- Move the page across the content tree.
- In this case the former URL is created immediately.
Former URLs are NOT created when:
- Deleting a page.
- Deleting a page permanently destroys and removes all former URLs pointing to that page.
- Administrators perform certain global changes, for example changing the domain of a website channel.
- Changing a language code name.
- Changing the Primary language setting for a website channel.
Changing the language code name or the primary language setting breaks all former URLs for the corresponding language variants of pages.
Remove former URLs
To remove a former URL:
- Open the Former URLsapplication.
- Remove () the specific former URL.
The former URL is now permanently removed.