
Display your website content in multiple languages
Offering your website content in multiple languages is an important step in reaching a broader audience. To provide a better and more inclusive user experience for your visitors, Xperience by Kentico supports localization and language variants.
Preparing different language versions of your content is a task for the editors. However, development effort is required to properly set up different language support in your website.
Multilingual guide series
This guide is the first part of the Set up multilingual mini-series. Using a simple concrete example, the mini-series demonstrates best practices and necessary steps you need to perform in order to present your website content in multiple languages in a user-friendly way.
In this guide, you will learn:
- the basic terminology related to multilingual support in Xperience by Kentico.
- how to display your home page and cookie consents in two language versions: English and Spanish.
This guide focuses on the developer tasks of the process, but it also references actions editors will typically take. Feel free to follow those steps as well to see and enjoy the fruits of your effort at the end of the guide. 🙂
Prerequisites
This guide, assumes you have the following:
- a running instance of Xperience by Kentico version 28.0.0 or higher (for guidance, follow Install a specific version of Xperience by Kentico)
- a website channel set up with at least one page displaying a content item stored in the content hub (for guidance, follow Display structured content with page templates)
The main branch of this repository is a good starting point that has all of the above set up. You will find the instructions to run in the README file.
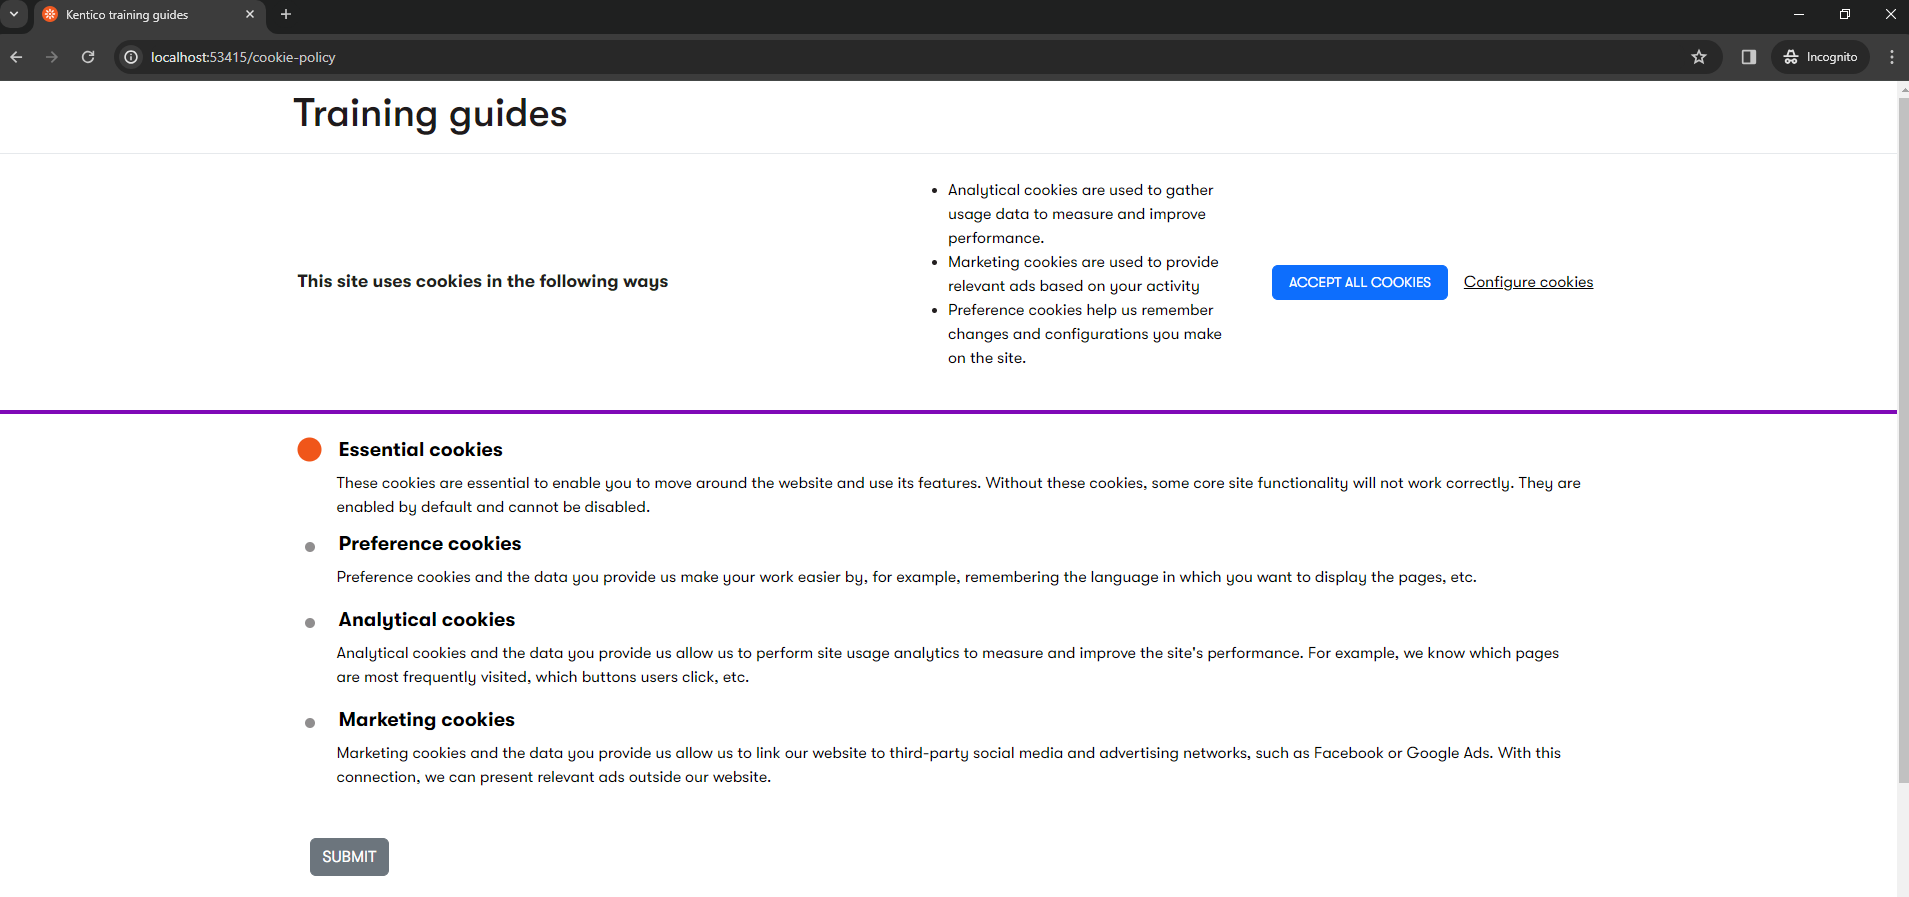
Additionally, this guide assumes you have followed Create a cookie preferences widget guide and Build a tracking consent banner guide (or implemented your own cookies widget and tracking consent banner in a similar way.) The widget and tracking consent banner this guide is working with look like this:
If you prefer to see the finished implementation of multilingual right away, take a look at the finished branch of our repository. It contains both the cookie widget and tracking consent banner.
Understand languages in Xperience by Kentico
Before diving in, let’s get familiar with the basic concepts of working with languages in Xperience by Kentico.
Languages are defined in the administration interface using the Languages application.
When more than one language is defined, editors can create multiple language variants of website channel pages, content items, and consent texts (one variant per language).
One language must always be set as a default language.

For example, if the default language is English, any content items editors create are, by default, English language variants. Editors can create a different language variant by manually picking a different language.
Each language can be assigned a fallback language. If you set up a fallback language and try to retrieve content in a language it is not translated into, the content will come back in the fallback language instead.
Every website channel has a primary language (typically assigned at the time of channel creation). This is a “default” language for the channel. When a visitor navigates to your website without specifying the language code in the URL (e.g., baseURL/page), they will see the page content in the primary language. Navigating to baseURL/<language_code_name>/page will return the page content in a specific language. We talk more about multilingual URLs in the next guide of this mini-series.
Multilingual in multichannel setup
Languages are global and exist above website channels. All website channels are automatically available in all defined languages. At this time, there is no way (out of the box) to configure a channel to be available only in a subset of languages.
This means that you can get in a situation where one is able to retrieve your website pages in a language they are not (and are not meant to be) translated into.
For example, you have three languages defined in your solution: English, Spanish (with a fallback to English), and French (with a fallback to English). Your instance of Xperience contains two website channels, each translated into two language versions:
- Channel A in English and Spanish
- Channel B in English and French
Even though by design, pages of Channel A are not supposed to be available in French, when you request https://channelA/fr, the system will still return 200 OK because French exists globally (content will come back in the fallback language, English).
This is a behavior to be mindful of when you work with multichannel and multilingual solutions. The best way of handling it will depend on your implementation, need and preference and is out of the scope of this guide.
Editor’s task (optional): Add Spanish language with a fallback to English
Log into the administration interface to experience the theory in practice. If you have been working off the main branch of our Training guides repository, the only language in your Xperience instance is English at the moment.
- Follow the documentation to create a new language. Call it Español, with language code es, do NOT and set the fallback language yet.
- Try to navigate to different pages of your website, adding the code /es to the base URL (e.g., http://localhost:53415/es or http://localhost:53415/es/cookie-policy). The system will return a 404 Not Found error each time because there is no Spanish version of your content to display.
- Now, go back to Languages in the administration interface and set the fallback language to English. Notice that you can now see your pages, and the content comes back in the primary language - English.
Implement the multilingual support for your site
Although creating the language versions of content is a task for editors, as a developer, you must take steps to ensure a consistent experience for your website visitors.
Retrieve preferred language
The first important building block is the preferred language retriever. Its Get() method returns the language of the request (if defined) or the primary language of the current website channel. You can simply inject IPreferredLanguageRetriever anywhere you need, using dependency injection. For example:
using Kentico.Content.Web.Mvc.Routing;

public class MyClass
{
    private readonly IPreferredLanguageRetriever preferredLanguageRetriever;

    public MyClass(IPreferredLanguageRetriever preferredLanguageRetriever)
    {
        this.preferredLanguageRetriever = preferredLanguageRetriever;
    }

    public string DoThings()
    {
        // Retrieve the preferred language
        var currentLanguage = preferredLanguageRetriever.Get();
        ...
    }
}
The value returned is a Code name that has been defined for the language in the Xperience administration interface.

Retrieve localized content items
This quickstart guide shows an approach to querying content item data that is valid for Xperience by Kentico 28.3.1 and older versions. We will update the guides to reflect improvements in content API released in 28.4.0.
In the meantime, you can read about the changes in the Xperience changelog or dive into retrieving content to see how the new mapping works.
To retrieve a specific language variant of a content item (website channel pages or content items stored in content hub), you simply use the InLanguage extension method of ContentItemQueryBuilder, passing it a language Code name (see picture above) as a parameter.
By passing in the preferred language, you will get your content item(s) in a language variant consistent with your current context.
Take a look at the place in your code where you call the ContentItemQueryBuilder. If you have been working off the main branch of our Quickstart guides repository or are following along looking at the finished branch, one example is located in the TrainingGuides.Web/Features/Shared/Services/ContentItemRetrieverService.cs.
...
private async Task<T> RetrieveWebPageContentItem(
    string contentTypeName,
    Func<ContentTypeQueryParameters, ContentTypeQueryParameters> filterQuery,
    Func<IWebPageContentQueryDataContainer, T> selectResult)
{
    var builder = new ContentItemQueryBuilder()
                        .ForContentType(
                            contentTypeName,
                            config => filterQuery(config)
                        )
                        //pass in the preferred language
                        .InLanguage(preferredLanguageRetriever.Get());

    var pages = await contentQueryExecutor.GetWebPageResult(builder, selectResult);

    return pages.FirstOrDefault();
}
...
Referenced content items
In case you need to retrieve a deeper structure of content items (e.g., a page that references another content item, which also references another content item), call WithLinkedItems method as a part of your filterQuery.
Here’s an example calling the RetrieveWebPageContentItem method from above:
...
RetrieveWebPageContentItem(
    contentTypeName,
    config => config
        .Where(where => where.WhereEquals(nameof(IWebPageContentQueryDataContainer.WebPageItemID), webPageItemId))
        //retrieve a deeper structure of content items. Use depth parameter to
        .WithLinkedItems(depth)
        .ForWebsite(webSiteChannelContext.WebsiteChannelName),
    selectResult);
...
Because RetrieveWebPageContentItem is using the InLanguage extension method, this call will return the whole structure of content items localized.
Read more about WithLinkedItems and other methods of ContentItemBuilder.ForContentType
Editor’s task (optional): Display Home page in Spanish
Now, if your implementation is correct, your application is able to retrieve and display content items in different languages. You can test this, for example, by creating a new language version of one of your pages in the Xperience administration.
Navigate to Channels → Training guides pages and translate the Home page into the new language.
Remember to translate and publish the reusable content item referenced by the Home page (Landing content) as well.
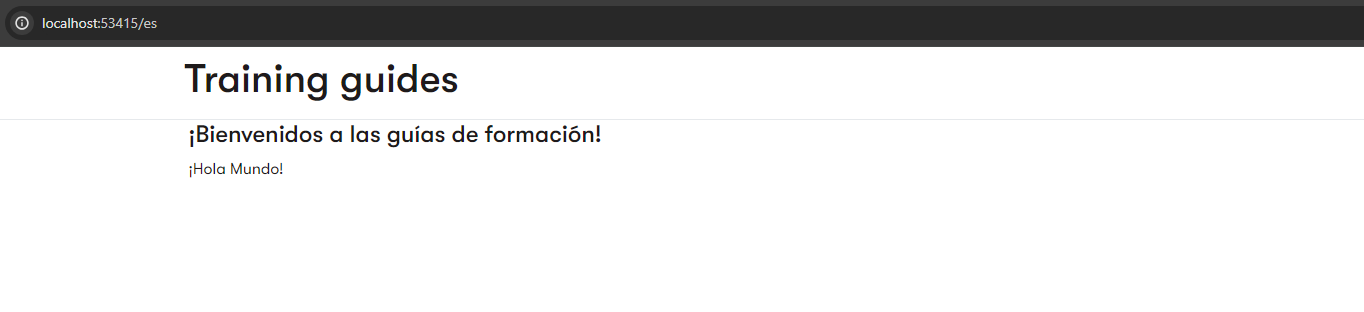
- Welcome to Training guides! in Spanish is ¡Bienvenidos a las guías de formación!.
- Hello world! translates into ¡Hola Mundo!.
Visit the root of your website and add /es to the end of the URL (e.g., http://localhost:53415/es). You should see your home page content in Spanish, like in the screenshot below.
Retrieve localized consent texts
Localizing consent texts looks very similar to localizing content items - you utilize the IPreferredLanguageRetriever. Simply pass the preferred language to the GetConsentTextAsync method as a parameter:
await consent.GetConsentTextAsync(preferredLanguageRetriever.Get()))
A good example of this in practice is a cookie preferences widget or a tracking consent banner. If you have previously followed our Create a cookie preferences widget and Build a tracking consent banner guides, your code likely already handles multilingual situations, but let’s take a closer look. If you haven’t followed the guides, feel free to browse the finished branch in our Training guides repository.
Cookie preferences widget
Navigate to CookiePreferencesWidgetViewComponent.cs in TrainingGuides.Web/Features/DataProtection/Widgets/CookiePreferences:
CookiePreferencesWidgetViewComponent.cs... public async Task<ViewViewComponentResult> InvokeAsync(CookiePreferencesWidgetProperties properties) { ... return View("~/Features/DataProtection/Widgets/CookiePreferences/CookiePreferencesWidget.cshtml", new CookiePreferencesWidgetViewModel { // In this example Essential header and description are defined in the cookies widget (not as a separate consent in Data protection). // The correct language version will come back together with the page content. EssentialHeader = properties.EssentialHeader, EssentialDescription = properties.EssentialDescription, PreferenceHeader = preferenceCookiesConsent?.ConsentDisplayName ?? CONSENT_MISSING_HEADER, // Retrieve consent text in preferrred language and display its FullText property value as PreferenceDescription PreferenceDescription = new HtmlString((await preferenceCookiesConsent?.GetConsentTextAsync(preferredLanguageRetriever.Get())).FullText) ?? consentMissingDescription, AnalyticalHeader = analyticalCookiesConsent?.ConsentDisplayName ?? CONSENT_MISSING_HEADER, // Retrieve consent text in preferrred language and display its FullText property value as AnalyticalDescription AnalyticalDescription = new HtmlString((await analyticalCookiesConsent?.GetConsentTextAsync(preferredLanguageRetriever.Get())).FullText) ?? consentMissingDescription, MarketingHeader = marketingCookiesConsent?.ConsentDisplayName ?? CONSENT_MISSING_HEADER, // Retrieve consent text in preferrred language and display its FullText property value as MarketingDescription MarketingDescription = new HtmlString((await marketingCookiesConsent?.GetConsentTextAsync(preferredLanguageRetriever.Get())).FullText) ?? consentMissingDescription, ... }); } ...If you are showing the ConsentDisplayName to the visitor (e.g., as a consent header), be advised, that ConsentDisplayName does not support multiple language versions at this time. We recommend utilizing stringLocalizer and Shared resources in your .Net project to handle this, as you will see in the next section of this guide.
Tracking consent banner
Navigate to TrackingConsentViewComponent.cs in TrainingGuides.Web/Features/DataProtection/ViewComponents/TrackingConsent:
TrackingConsentViewComponent.cs... public async Task<IViewComponentResult> InvokeAsync() { ... if (consents.Count() > 0) { ContactInfo currentContact = ContactManagementContext.GetCurrentContact(false); string text = "<ul>"; List<string> codenames = []; bool isAgreed = false; foreach (var consent in consents) { ... // When iterating throught the list of consents to render a list of short texts: // Retrieve consent text in preferrred language and access its ShortText property text += $"<li>{(await consent.GetConsentTextAsync(preferredLanguageRetriever.Get())).ShortText}</li>"; ... } text += "</ul>"; ... // Displays a view with tracking consent information and actions return View("~/Features/DataProtection/ViewComponents/TrackingConsent/TrackingConsent.cshtml", consentModel); } return Content(string.Empty); } ...
Editor’s task (optional): Display cookie texts in Spanish
Navigate to Data protection in your Xperience administration interface and follow the documentation to translate your consent texts into Spanish (Español).
Navigate to Training guides pages website channel (Channels → Training guides pages), translate the Cookie policy page, including the Cookie preferences widget, and publish.
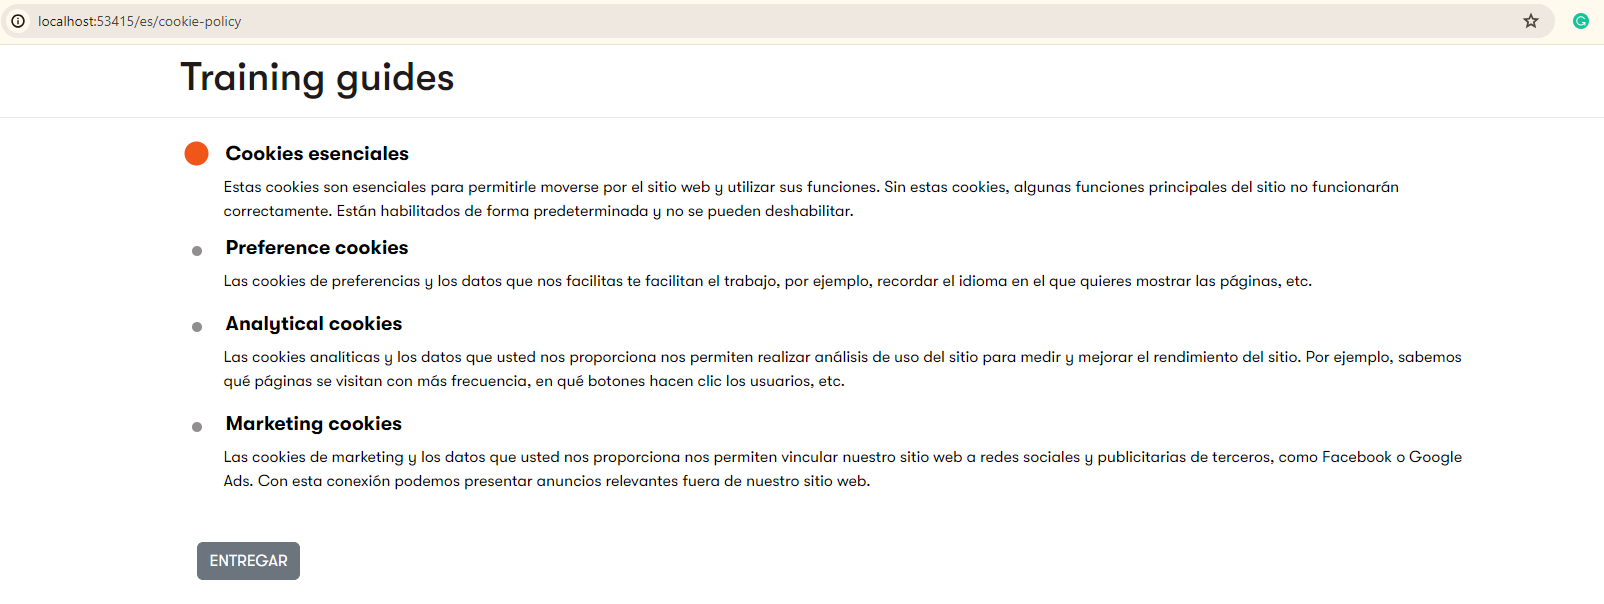
Visit the Spanish version of your Cookie policy page by inserting the ‘es’ language code after the base URL (e.g., http://localhost:53415/es/cookie-policy). You should see your translated Cookie preferences banner content.
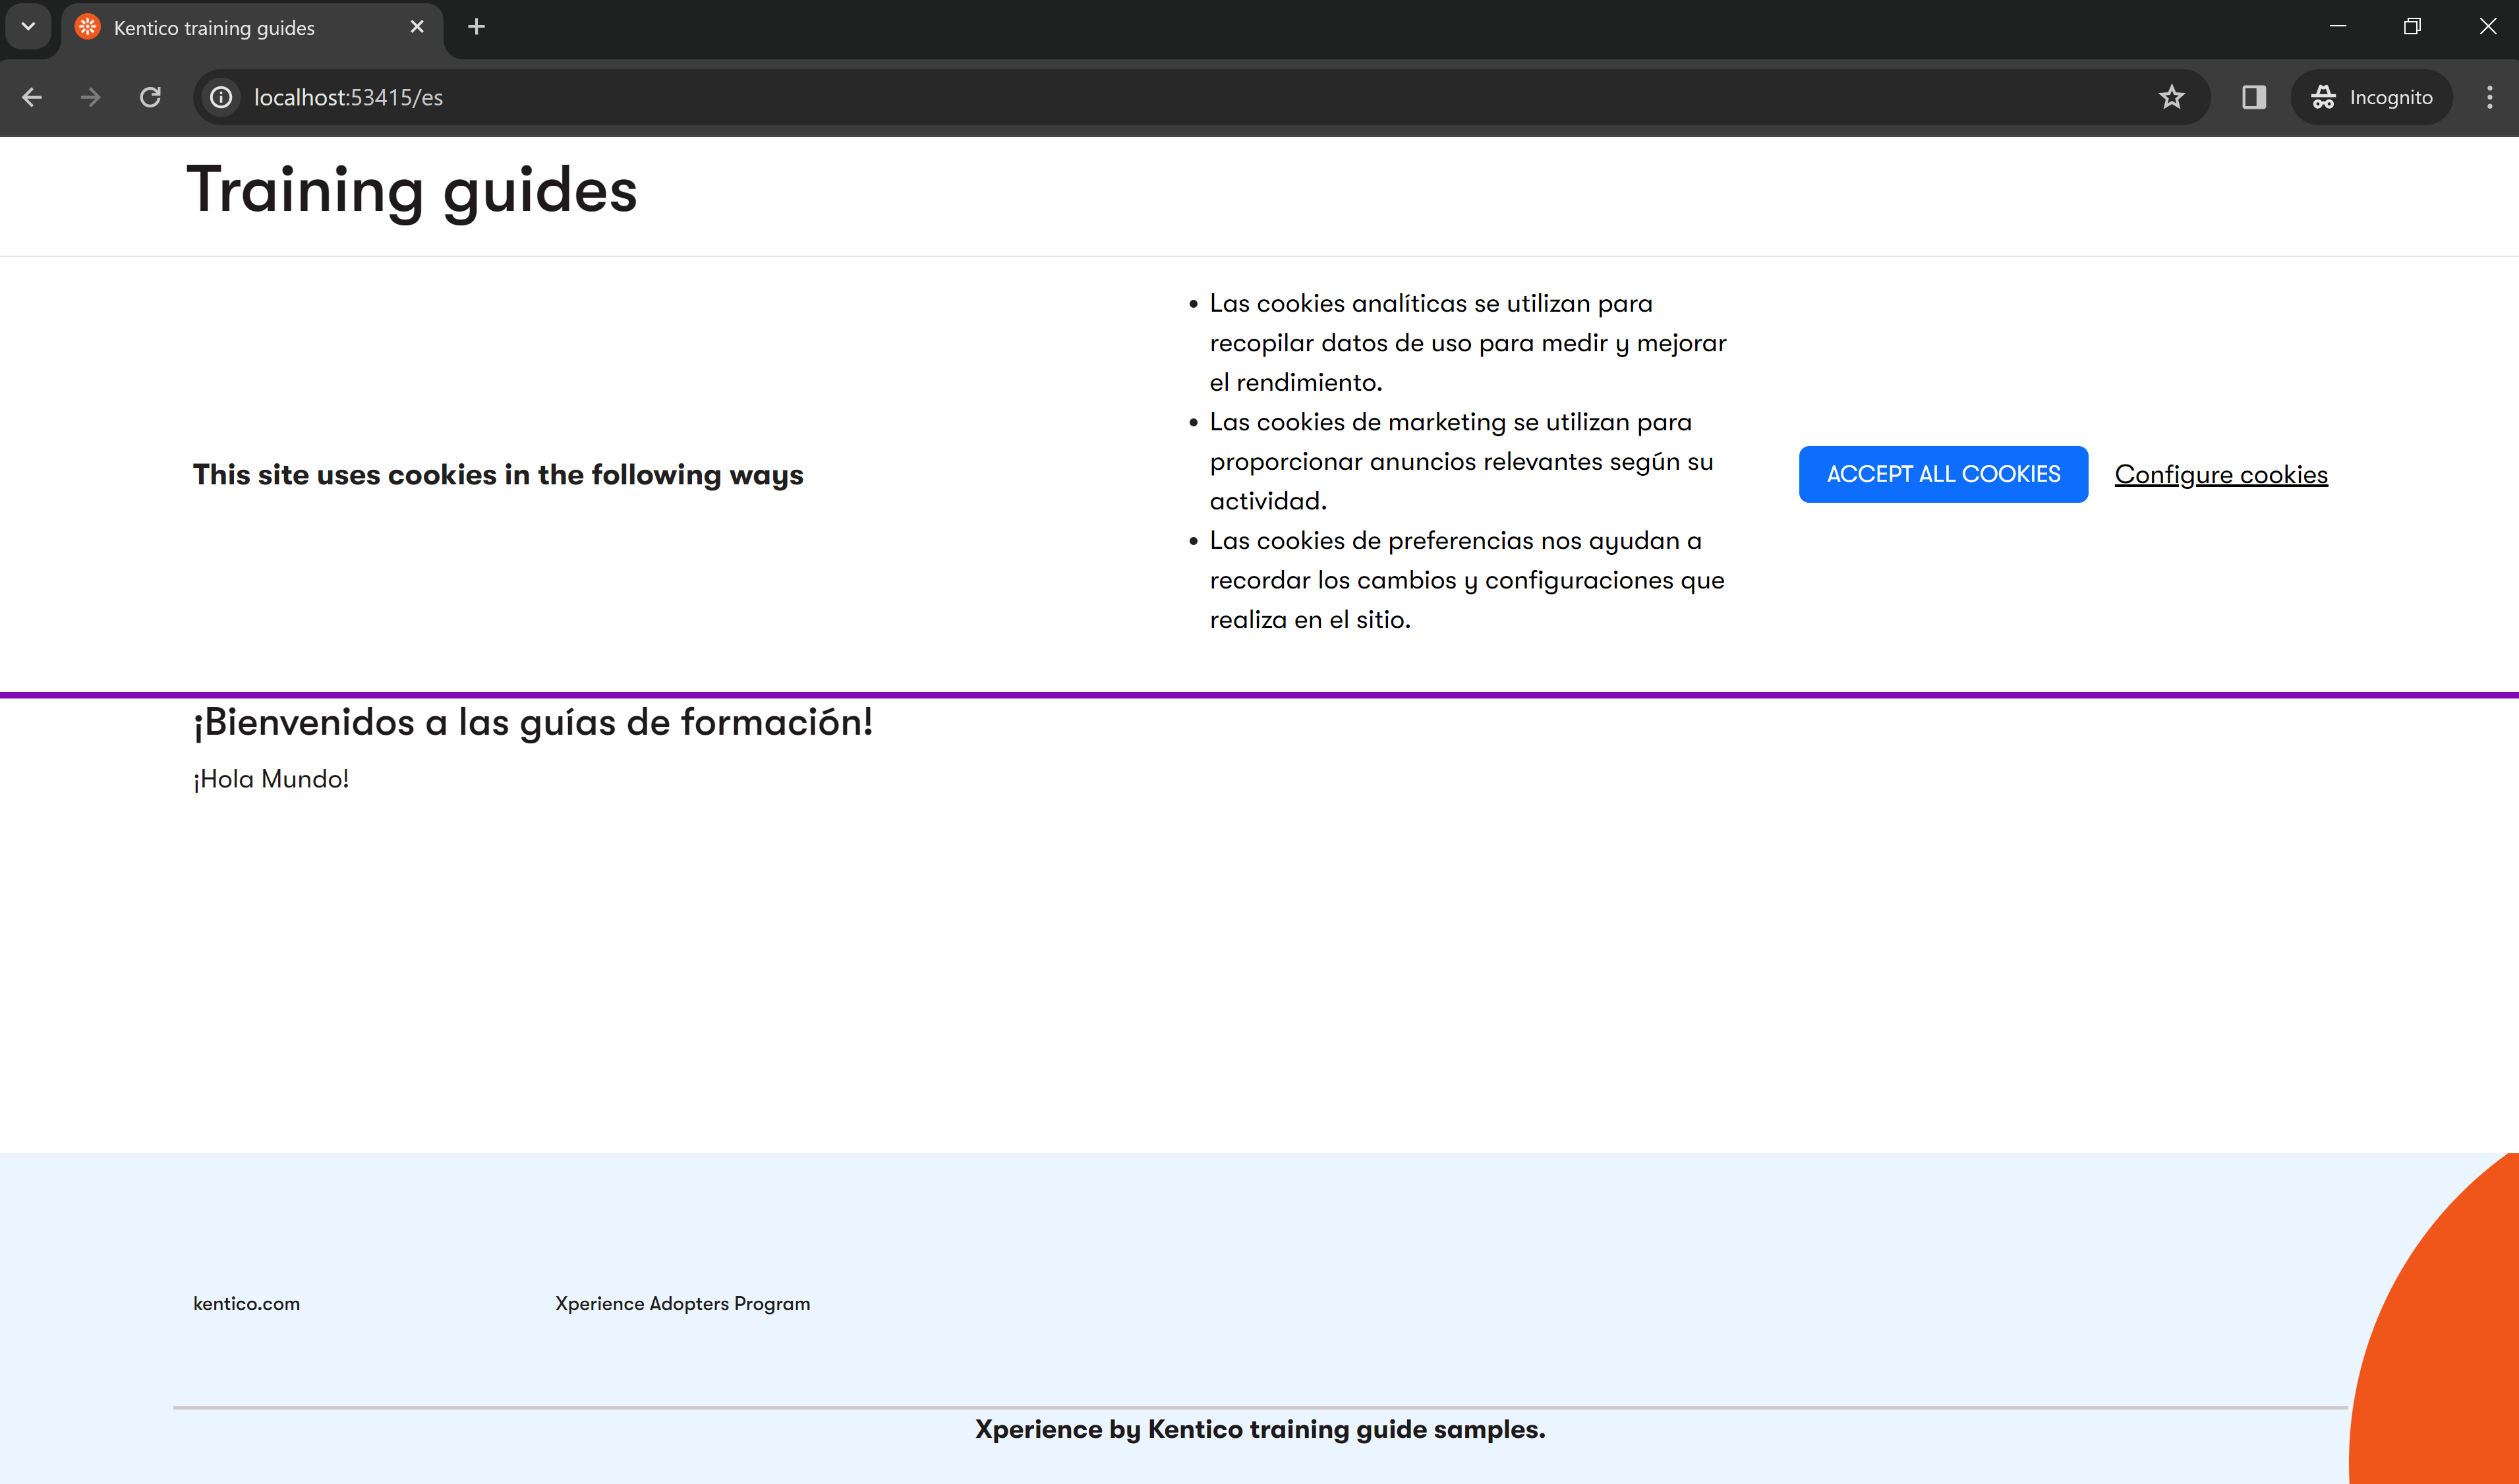
Open your site in a new browser incognito window, appending /es to the base URL. You should see your Tracking consent banner, looking similar to the picture below:
Translate other application texts
Your application can now display localized consent texts. However, there are still some visitor-facing strings in your application that are not part of content items or consents. For example, the title in the header, the texts in the footer, cookie headers, or the Configure cookies link in the Tracking consent banner.
We recommend utilizing ASP .NET Core IStringLocalizer and Shared resources for translating strings like these. If you are following along and working off the Training guides repository, you can see the TrainingGuides.Web project already contains a Resources folder with a SharedResources class. Let’s translate your texts into Spanish. Start with the “Training guides” title in the Header view component.
Locate HeaderViewComponent.cs file under TrainingGuides.Web/Features/Header.
Inject IStringLocalizer using constructor injection and translate the
Headingproperty as you see in the code below:HeaderViewComponent.csusing Microsoft.AspNetCore.Mvc; using Microsoft.Extensions.Localization; namespace TrainingGuides.Web.Features.Header; public class HeaderViewComponent : ViewComponent { // Inject the IStringLocalizer passing in the SharedResources type. private readonly IStringLocalizer<SharedResources> stringLocalizer; public HeaderViewComponent(IStringLocalizer<SharedResources> stringLocalizer) { this.stringLocalizer = stringLocalizer; } public IViewComponentResult Invoke() { var model = new HeaderViewModel() { // Localize the "Training guides" string. Heading = stringLocalizer["Training guides"] }; return View("~/Features/Header/Header.cshtml", model); } }In the Resources folder, create a SharedResources.es.resx file.
It is a good practice to use the two-letter ISO language name, based on IETF or one of the ISO-639 standards - “es” for Spanish.
The example implementation in this guide requires the language name to match the Code name defined for your language in Xperience administration.
IStringLocalizerdoesn’t require storing the default language strings in a resource file. Simply call the localizer on the default strings (like in the code sample above).While the older approach of creating SharedResources.resx file and defining a code name for each string is still valid and works, Microsoft documentation of the IStringLocalizer refers to the newer practice as preferred.
Add the Spanish translation:
name: Training guides (the text in primary language)
value: Guías de formación
Visual Studio will allow you to modify the file in a table view. If you use a different editor (e.g., Visual Studio Code), you may have to manually edit the XML inside the file. To add a text translation, add a
<data>tag inside the root:<data name="Training guides" xml:space="preserve"> <value>Guías de formación</value> </data>
Find other strings in the project that are “hardcoded” in the application, rather than stored in Xperience by Kentico, and repeat the same steps.
To localize strings inside views, simply
@inject IStringLocalizer<SharedResources> StringLocalizerin the view or in your _ViewImports.cshtml file. Then, you can call StringLocalizer just like in the example above. For instance,@StringLocalizer["Xperience by Kentico training guide samples."]to translate one of the footer texts.Here is a link to the full SharedResources.es.resx file in our repository, for your reference. It contains texts from TrainingGuides.Web project translated into Spanish.
Your website visitors can now view individual pages’ content in English (the default language) and Spanish (by typing ‘/es’ after the base URL in the browser navigation bar):
What’s next
The next guide of this mini-series, explains how to handle navigation between multilingual pages. You will also implement a simple language selector, enabling visitors to switch between languages in a more user-friendly way.