
Install a specific version of Xperience by Kentico
During the installation of Xperience by Kentico, if you use the .NET CLI to install Kentico.Xperience.Templates without any further specification, it will automatically install the newest version. While this is typically the desired behavior, you may encounter situations where you need to install an older version. For example, your company already uses a given version of Xperience by Kentico or has a lengthy approval process.
This guide will cover the process of installing an exact version of Xperience by Kentico, specifically demonstrating the boilerplate project, working toward the state of this repository as an example.
For the sake of the exercise, this guide will use version 28.0.0, though any valid version number can be substituted if you are simply using it as a reference.
- You can find a list of all valid version numbers in the documentation’s Changelog page.
First steps series
This guide is the start of a series about the first steps of creating a site in Xperience by Kentico.
The series will take you from the initial installation of Xperience by Kentico to displaying content in a very basic way.
Check your .NET SDK version
Most of this guide will use the .NET CLI, and the specific commands and arguments differ depending on your installed .NET SDK version.
To check your .NET SDK version, open the command line and run the following command:
dotnet --info
Note the version listed under .NET SDK for future reference.
Check your existing template versions
In the .NET CLI, the dotnet new command is used to install NuGet template packages, such as Kentico.Xperience.Templates.
Running this command’s uninstall argument without specifying what to uninstall brings up a list of the currently installed template packages.
- Open the command line and run the following command (depending on the .NET SDK Version installed on your machine) :
dotnet new -u
dotnet new uninstall
This command lists all installed NuGet template packages on your machine. If you have multiple versions of Kentico.Xperience.Templates installed, you’ll notice that all of them appear in the list, but only one of them includes a Templates subsection with a list of specific template names. You can see an example of this in the screenshot below, where only version 28.0.2 has the Templates section.

A quirk of having multiple versions of the same NuGet Templates package is that templates are only available from the most recently installed version of the package.
If your situation meets either of the following conditions, skip to the Install the templates step.
- The version you want to use is not yet installed.
- Your .NET SDK version is 7.0.100 or higher.
If either of these next conditions applies to you, move to the Create a project step.
- The version you want to use is the only one installed.
- You have multiple versions installed, but the one you want shows a list of available templates.
Otherwise, proceed to the Clear the unwanted templates step.
Clear the unwanted templates
Since the version you want to use is already installed but does not have templates available, you must uninstall the Kentico.Xperience.Templates package.
- Open the command line and run the following command (depending on the .NET SDK Version installed on your machine) :
dotnet new -u kentico.xperience.templates
dotnet new uninstall kentico.xperience.templates
Install the templates
Once you’ve removed the unwanted templates, you can install the templates of the required version.
- Open the command line and run the following command, substituting the version you want in place of 28.0.0 if they are different (depending on the .NET SDK Version installed on your machine):
dotnet new -i kentico.xperience.templates::28.0.0
dotnet new install kentico.xperience.templates::28.0.0
dotnet new install kentico.xperience.templates::28.0.0 --force
Now, with the proper template package installed, you can create projects using the Xperience templates.
Create a project
Creating the project also relies on the .NET CLI, which will fill the provided folder with project files for the presentation layer of your site.
Create or navigate to the folder that you want to hold this project’s repository.
Add a src folder within it, and a TrainingGuides.Web folder within the src directory.
Open a command window in the TrainingGuides.Web directory.
You can use the
cdcommand to move the existing window to that directory, or navigate there in File Explorer and type cmd into the address bar to open a command line in the current directory.Once your command line is in the directory, create a new project called TrainingGuides.Web.
This project will be the top-level MVC project, responsible for the site’s presentation, but it will not be the only project in the solution.Create a new projectdotnet new kentico-xperience-mvc -n TrainingGuides.WebAgree when prompted to run a restore command.
After the run is successful, you will see a new .NET project generated in your TrainingGuides.Web folder. Navigate one level up and create a new folder called License in the src directory.
Add a file called license.txt with the content of a valid localhost license key.
Getting your license key
A key can be attained through the Client Portal. If your account has one or more registered licenses, you can view them on the Licenses tab and find their keys by clicking on the key icon next to the license.
Otherwise, you can get a temporary localhost key on the Evaluation keys tab.
Add a solution to the project. This will allow other projects to be created to work in tandem and keep things organized.
Some IDE’s, like Visual Studio Code with the C# Dev Kit extension, will generate the solution file automatically after you open the project. We recommend saving the solution directly in the src folder, one level up from TrainingGuides.Web.
If you are using Visual Studio:
- Open TrainingGuides.Web.csproj in Visual Studio, and highlight the auto-generated solution in the solution explorer.
- Click on File, and choose Save TrainingGuides.Web.sln as from the dropdown.
- Navigate to the src folder, and rename the file to TrainingGuides.sln, then click Save.
Connect the database
For the next step, let’s install the database.
Remember to replace the <sql_server_name> placeholder to match your SQL server before you run the following command.
dotnet kentico-xperience-dbmanager -- -s "<sql_server_name>" -a "TrainingGuides123*" -d "Xperience.TrainingGuides" --hash-string-salt "59642433-67b2-4230-9c5b-ad98d02b0c72" --license-file "..\License\license.txt"
Note the information specified with each parameter, which you can change if you are using this as a reference rather than following along.
-s- The SQL server where the database should be installed
-a- The password for the administrator account when accessing the administration interface
-d- The name given to the database in the SQL Server
--hash-string-salt- The CMSHashStringSalt value is used for signing macros stored in the database
--license-file- The path to a text file containing your license key
For more details about parameters and configuration options, visit our documentation.
Once the database finishes installing, run the site and visit the /admin path. Log into your Xperience by Kentico instance with the username administrator and the password specified in the command above.
Site not configured message
When the site loads, you should see a message that says something like this:
The TrainingGuides.Web site has not been configured yet.
This is okay, and will be fixed later in the series. For now, the administration interface is all you need, and it works regardless!
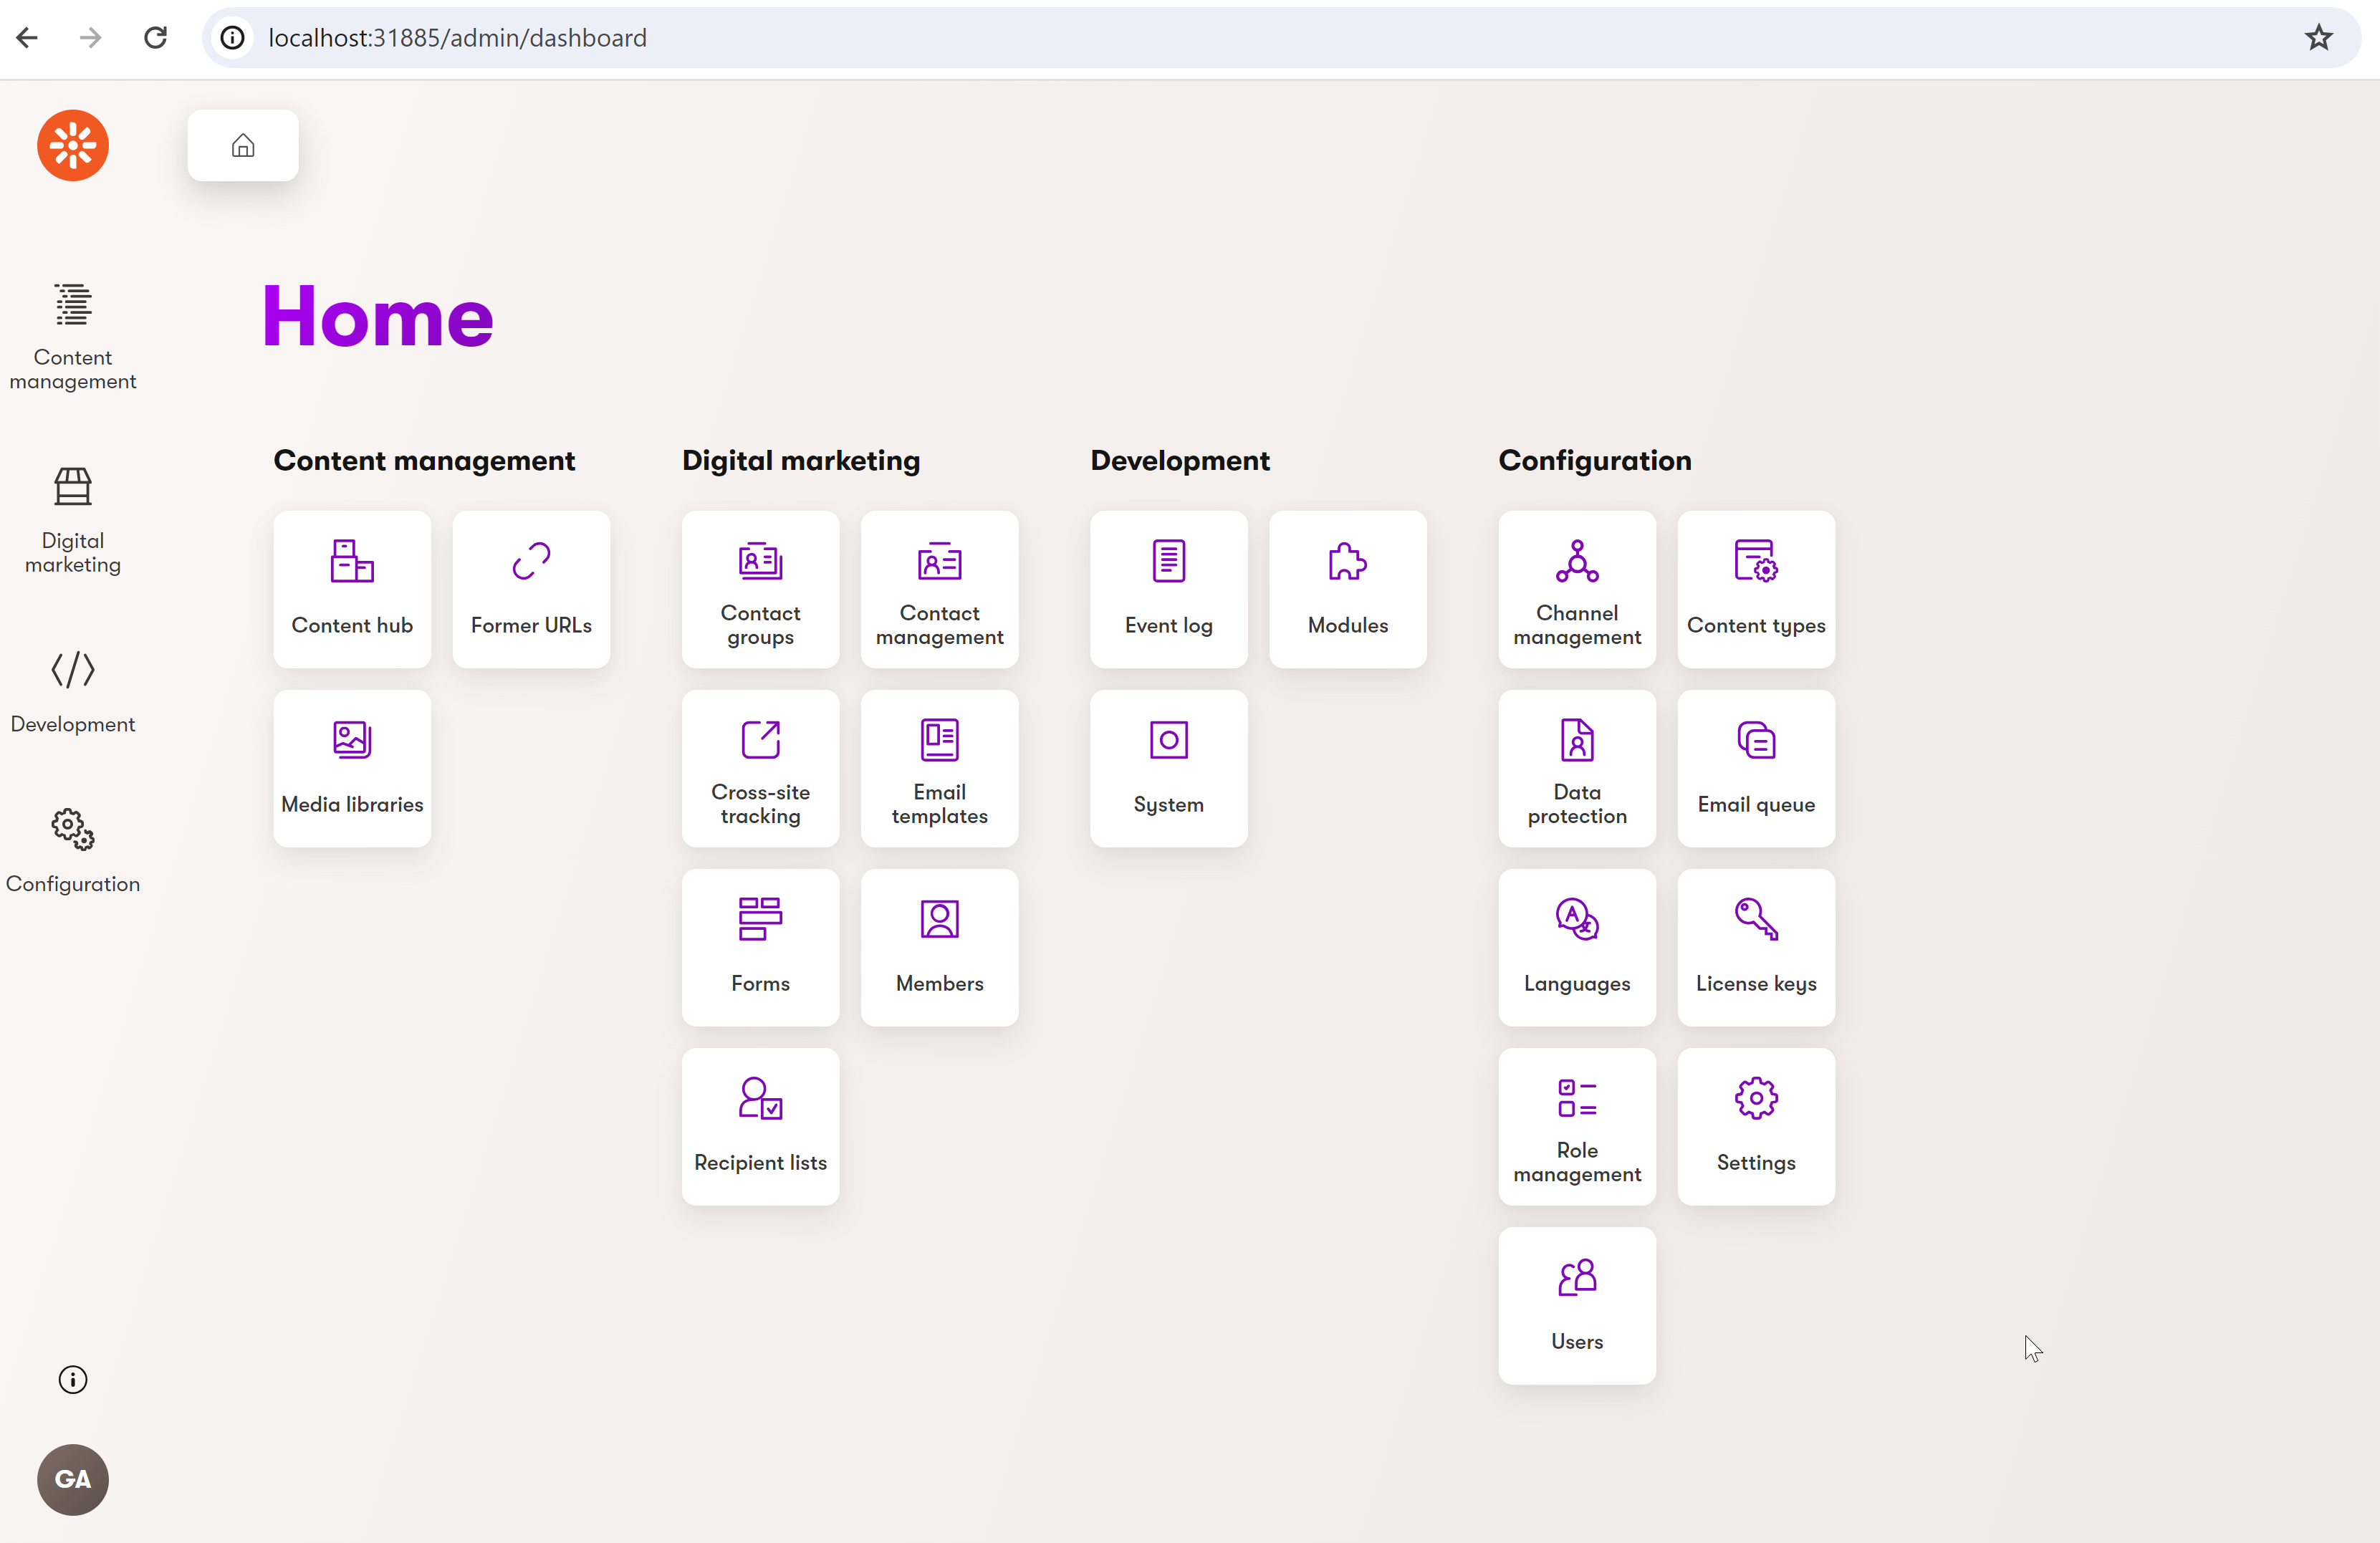
After successful login, the app will navigate you to the Xperience administration dashboard, the interface content editors use to perform their daily tasks. As a developer, you will use the administration dashboard to configure and customize Xperience by Kentico according to your company’s business needs.
What’s next?
Now you have a fresh boilerplate project running on your specified version, so you can get started with development!
If you are following along with the exercise, proceed to the next guide in this series, where you will learn what is and how to create a reusable content type, an essential building block in developing multichannel experiences with Xperience by Kentico.