
Map consents to cookie levels
Laws relating to personal data protection have come into effect in many places worldwide. In many cases, an essential step to comply with such regulations is to attain a consent agreement from an individual to store and process their personal data.
In some cases, when properly explained, consent for storing browser cookies in the visitor’s browser files can be sufficient for collecting and processing the data associated with those cookies’ functionality.
This example shows the process of creating a custom page in the Xperience administration interface that maps custom cookie levels to consents. With this page, editors can define which consents in the Data protection application are associated with specific cookie levels. This is a key step in creating a cookie-level configuration page, e.g. the cookie policy page on Kentico.com.
Data protection series
This guide is the first part of a series that showcases how you can implement data protection features in Xperience by Kentico.
You can find the starting point in this repository if you wish to follow along. Instructions for setup are in the README file.
The example presented in Data protection guide series (starting with this guide) is a valid and complete implementation of data protection in Xperience by Kentico. You can simply copy-paste the code samples into your own solution.
However, if you choose to do so, make sure to consult your legal team to determine whether the implementation, texts, and consent levels meet the requirements of your region and market.
Create the consents
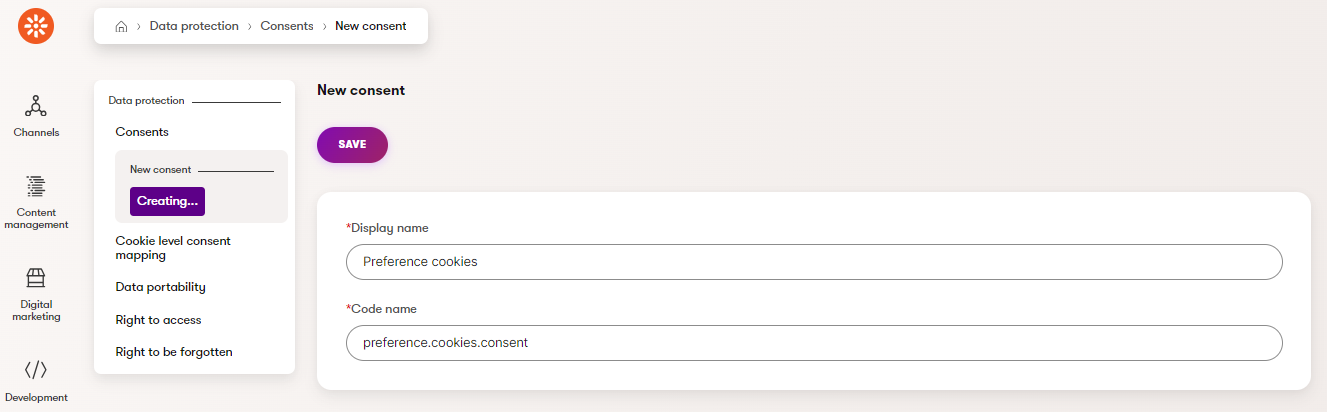
First, open the Data protection application in the Configuration category of the administration interface for Xperience by Kentico, and create consents with the following properties:
- Preference cookies consent
- New consent
- Display name: Preference cookies
- Code name: preference.cookies.consent
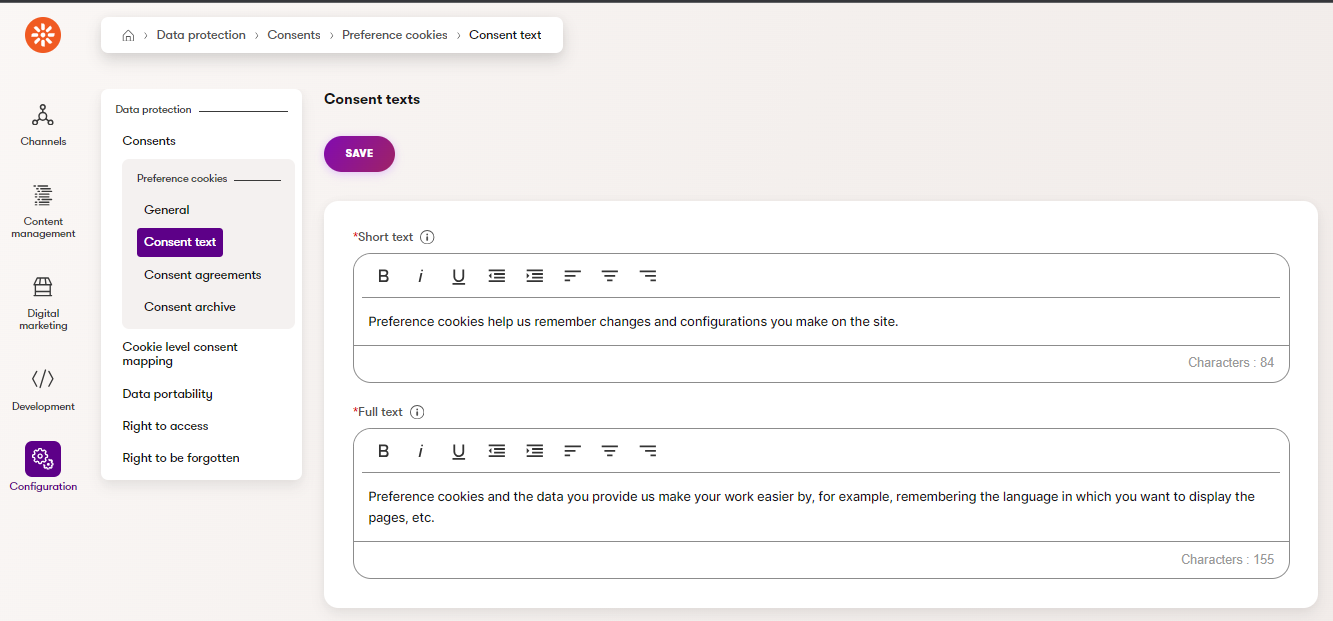
- Consent texts
Short text: Preference cookies help us remember changes and configurations you make on the site.
Full text: Preference cookies and the data you provide us make your work easier by, for example, remembering the language in which you want to display the pages, etc.
- New consent
- Analytical cookies consent
- New consent
- Display name: Analytical cookies
- Code name: analytical.cookies.consent
- Consent texts
- Short text: Analytical cookies are used to gather usage data to measure and improve performance.
- Long text: Analytical cookies and the data you provide us allow us to perform site usage analytics to measure and improve the site’s performance. For example, we know which pages are most frequently visited, which buttons users click, etc.
- New consent
- Marketing cookies consent
- New consent
- Display name: Marketing cookies
- Code name: marketing.cookies.consent
- Consent texts
- Short text: Marketing cookies are used to provide relevant ads based on your activity.
- Long text: Marketing cookies and the data you provide us allow us to link our website to third-party social media and advertising networks, such as Facebook or Google Ads. With this connection, we can present relevant ads outside our website.
- New consent
In real-world applications, your legal team should review the short and long texts of your consents to ensure that they meet the requirements of your region and market.
Define the module
Create the class
Now that these consents exist, we can create a UI page for mapping them to cookie levels.
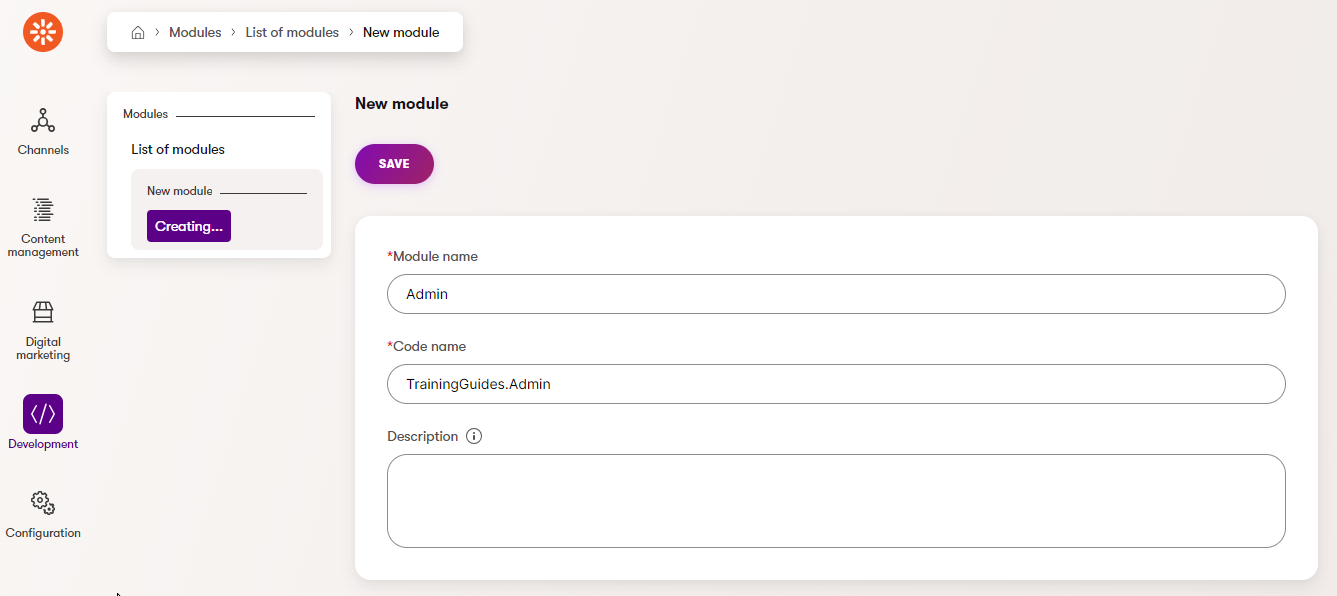
- Open the Modules application in the administration interface for Xperience by Kentico, under the Development category.
- Create a new module that can be used for custom admin components on the site.
Display name: Admin
Code name: TrainingGuides.Admin
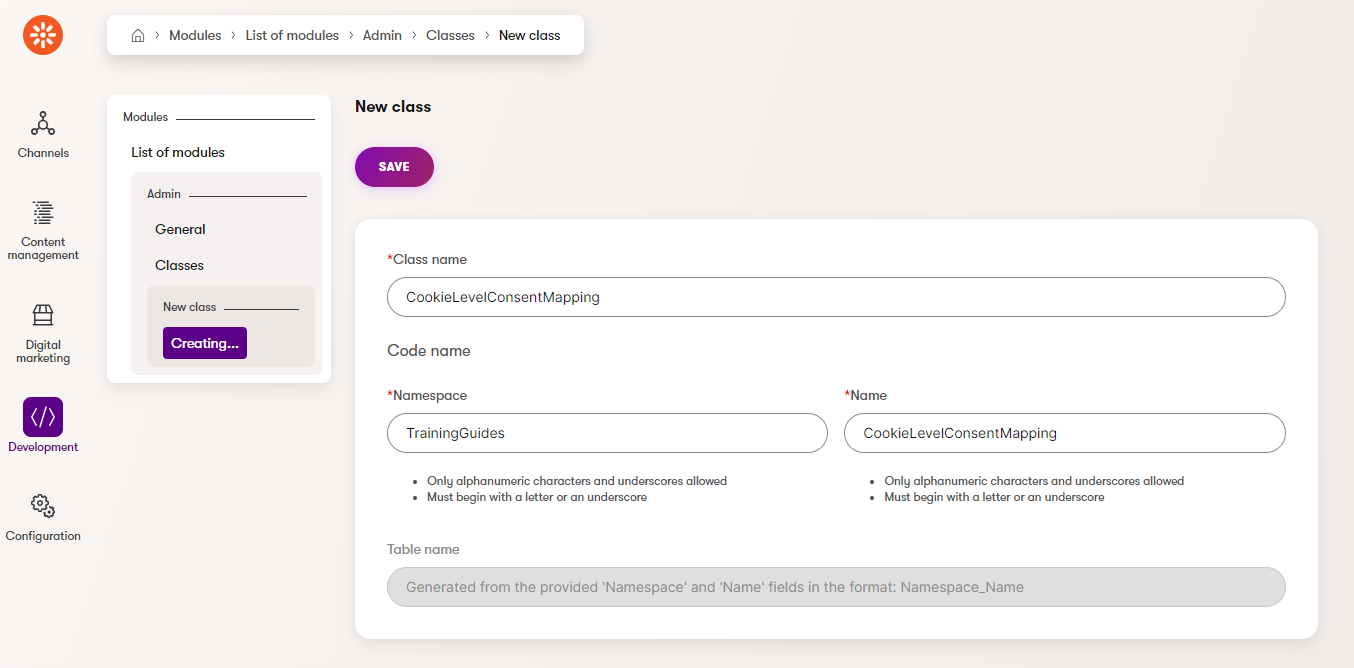
- On the Classes tab of this new module, create a new class.
Display name: Cookie level consent mapping
Namespace: TrainingGuides
Name: CookieLevelConsentMapping
- On the Database columns tab in this new class, add new fields with the following properties. These fields will determine which consent corresponds to each cookie level.
Preference cookie consent field
Field name: PreferenceConsentCodeName
Data type: Object code names
Required: False (Disabled)

Analytical cookie consent field
- Field name: AnalyticalConsentCodeName
- Data type: Object code names
- Required: False (Disabled)
Marketing cookie consent field
- Field name: MarketingConsentCodeName
- Data type: Object code names
- Required: False (Disabled)
Guid field
- Field name: CookieLevelConsentMappingGuid
- Data type: Unique identifier (GUID)
- Required: True (Enabled)
Add the UI form
Switch to the UI forms tab of the class.
- Populate the following properties accordingly:
Form display name: Cookie level consent mapping
Form name: CookieLevelConsentMapping
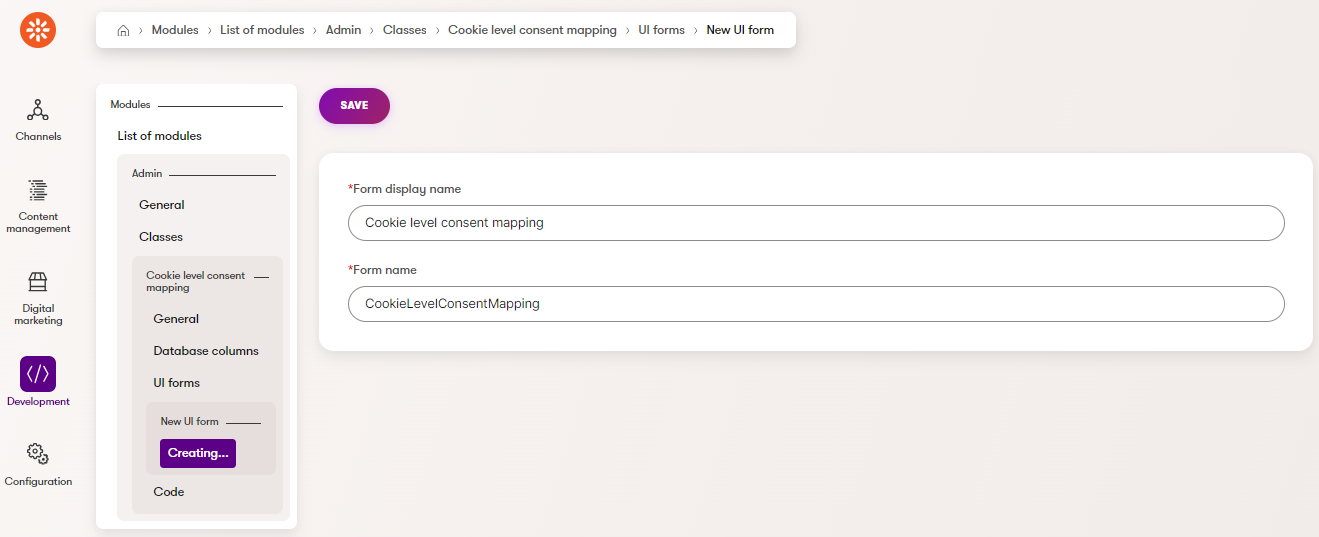
- Save the form, and switch to the Fields tab.
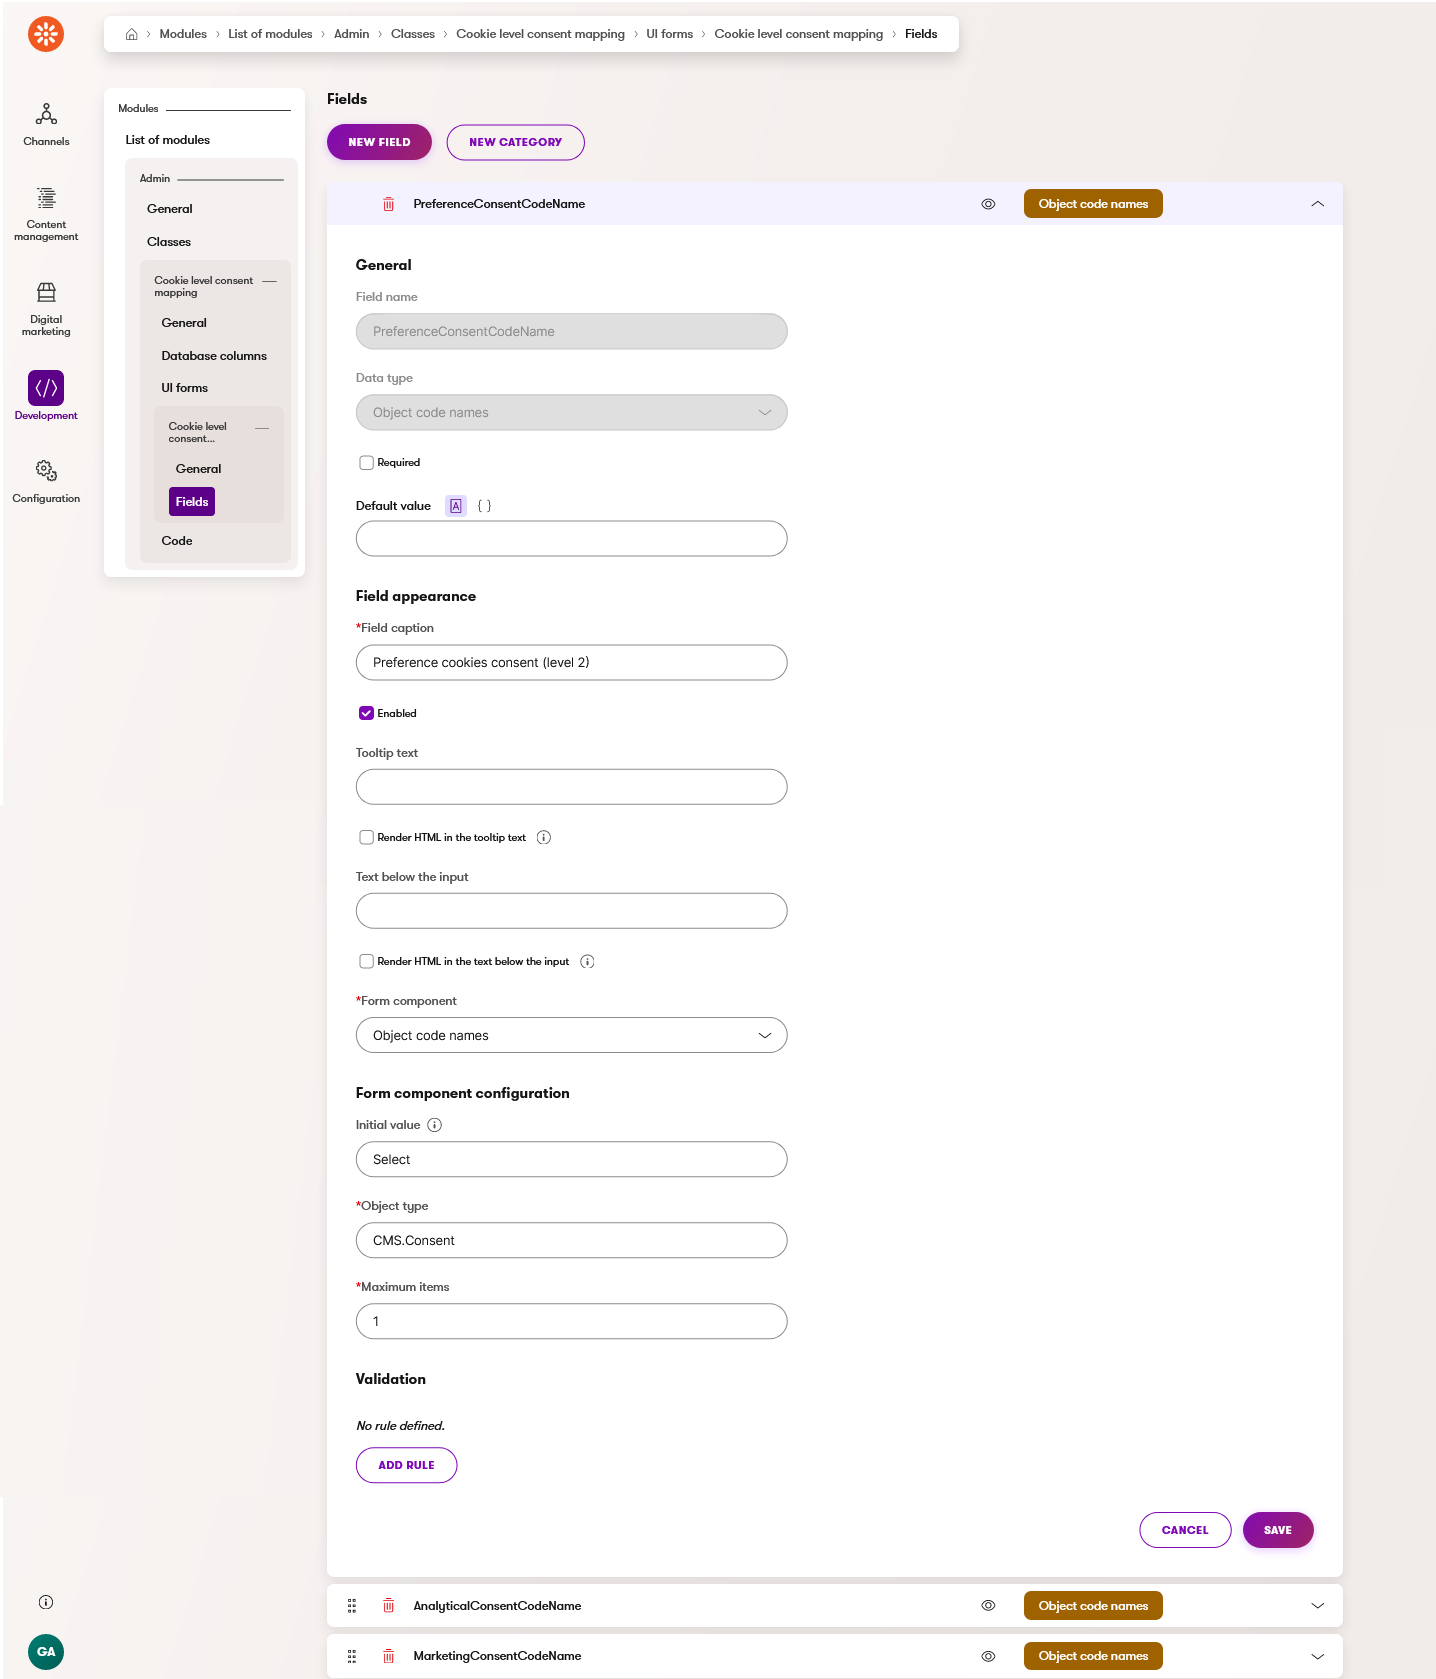
- Create a field for each previously specified consent columns with the following properties:
- Form component: Object code names
- Initial value: Select
- Object type: CMS.Consent
- Maximum items: 1
- The fields should have the following Field caption values, respectively:
- Preference cookies consent (level 2)
- Analytical cookies consent (level 3)
- Marketing cookies consent (level 4)
The fields defined within UI forms represent how the database columns will be represented in the administration interface.
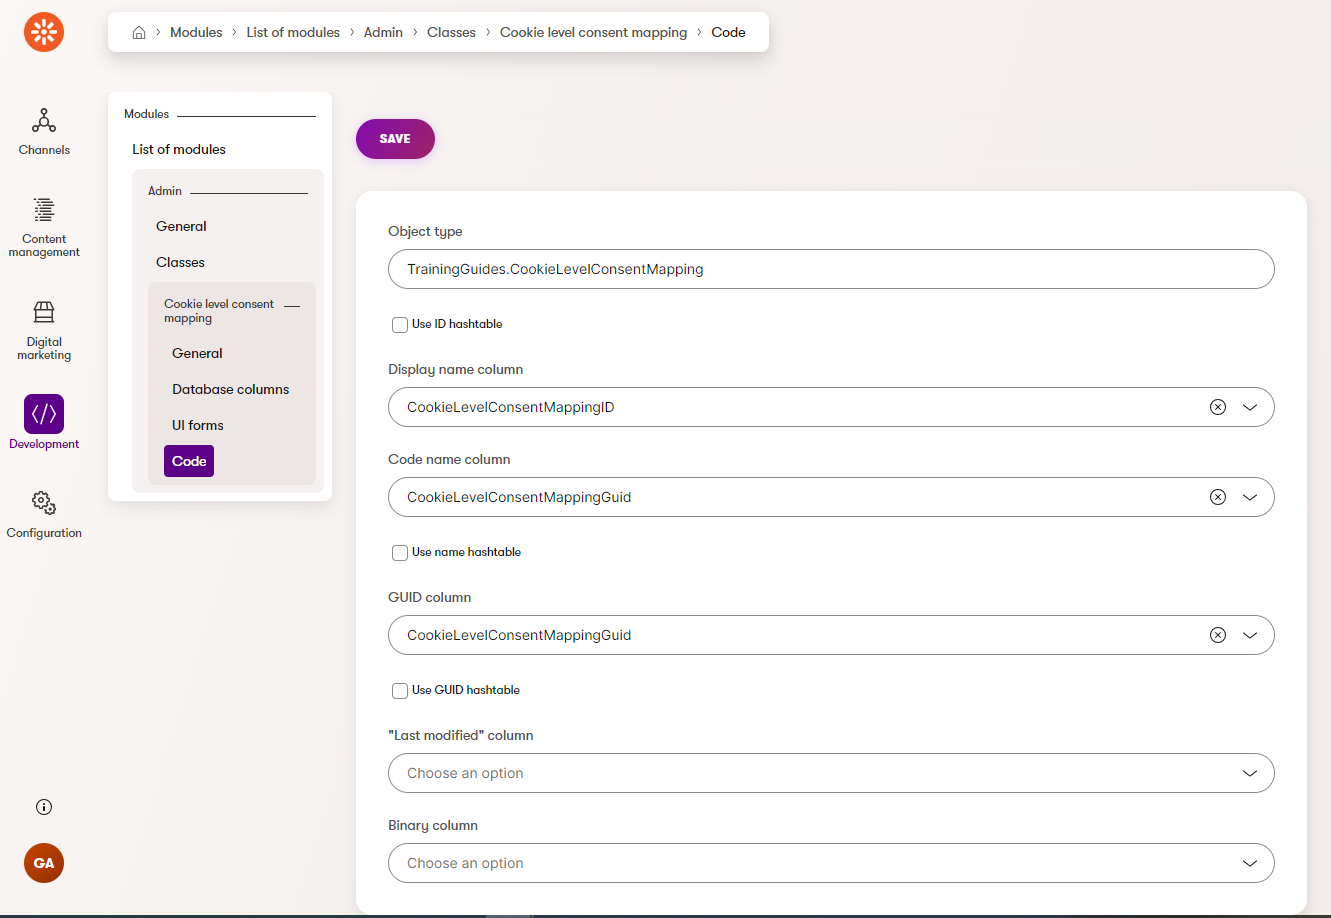
Generate the code
Next, designate code settings for the class to make it more compatible with other features.
Switch to the Code tab of the class.
Set the Object type to TrainingGuides.CookieLevelConsentMapping.
Set the Display name column to CookieLevelConsentMappingID, and set Code name column and GUID column to CookieLevelConsentMappingGuid.
Leave all the other properties un-set.
Readable names
Typically, columns that hold human-readable data are used for Display names and code names of custom objects. This helps the people managing the objects find them in object listings and query them easily.
However, in this case, there is only going to be a single entry for this class, so there will be no listing page. There is no need for the class to have a readable display name because it is never used.
This completes the administration interface setup for the class, so now the code can be generated.
Now, you can generate a code file for the custom class as described on this page.
Switch the command line to the TrainingGuides.Web directory.
Run the
--kxp-codegentool, setting the location to the TrainingGuides.Entities project and include only the CookieLevelConsentMapping class.dotnet run -- --kxp-codegen --type "Classes" --location "../TrainingGuides.Entities/{type}/{name}" --include "TrainingGuides.CookieLevelConsentMapping"This will generate three code files in the TrainingGuides.Entities/Classes/CookieLevelConsentMapping folder.
- CookieLevelConsentMappingInfo.generated.cs is the info class containing the definition for objects of this type.
- CookieLevelConsentMappingInfoProvider.generated.cs is the provider class, which has methods to interface with the database and perform CRUD operations on data.
- ICookieLevelConsentMappingInfoProvider.generated.cs is an interface that allows the provider to be injected with dependency injection.
Add a subfolder named Overrides to the ~/Classes folder of the TrainingGuides.Entities project.
Create a partial class for
CookieLevelConsentMappingand enable continuous integration.Partial class
Continuous Integration could be enabled by modifying the TYPEINFO declaration in the generated class. However, this separate partial class ensures that the change will not be overwritten next time the code is generated.
CookieLevelConsentMappingInfoOverride.csnamespace TrainingGuides.Admin; public partial class CookieLevelConsentMappingInfo { static CookieLevelConsentMappingInfo() { TYPEINFO.ContinuousIntegrationSettings.Enabled = true; } }This configuration allows the cookie-level consent mapping to be shared among developers by including serialized data in source control.
Add a page to the UI
Set up the project
Now that the class, form, and files are in place, we can integrate them into the UI.
Create a new Class Library project targeting your version of .NET under the TrainingGuides solution. Name it TrainingGuides.Admin.
Install the Kentico.Xperience.Admin and Kentico.Xperience.Core NuGet packages for the project.
Make sure to choose package versions that match the project’s version, indicated by the version of the Kentico.Xperience.WebApp package in the primary web project, and the value of the CMSDBVersion settings key in the CMS_SettingsKey table of the database.
Add a reference from the TrainingGuides.Admin project to the TrainingGuides.Entities project, and a reference from the TrainingGuides.Web project to the TrainingGuides.Admin project.
Add the assembly attribute to the TrainingGuides.Admin.csproj file:
...
<ItemGroup>
    <AssemblyAttribute Include="CMS.AssemblyDiscoverableAttribute">
    </AssemblyAttribute>
</ItemGroup>
...
This attribute will allow the files in the TrainingGuides.Admin project to be discovered by the Xperience API during app initialization.
Add the page
- Add a folder called Pages to the TrainingGuides.Admin project, and create a new class file called
CookieLevelConsentMappingPage.cswithin. This page will be used to edit objects of theCookieLevelConsentMappingclass.- Make the class inherit from
InfoEditPage<CookieLevelConsentMappingInfo>. (You can find out more information about editing UI pages in the documentation.)
- Make the class inherit from
- Register the page as a child of the
DataProtectionContentLanguagepage in the administration interface.- Set the slug property to cookielevelconsentmapping, so that the URL of the page in the administration interface clearly indicates its purpose.
- Assign the Edit template, so that Xperience knows this page is used to edit objects of the CookieLevelConsentMapping type.
- Set the page order of
UIPageOrder.First + 1, so that it is the second page after the Consents listing page.
- Override the
ObjectIdproperty of theInfoEditPageclass, making sure that itsgetaccessor will either:Return the ID of the first available
CookieLevelConsentMappingInfoobject,
orCreate and save a new
CookieLevelConsentMappingInfoobject if none exists.Overriding the
ObjectIdproperty ensures that only one object of theCookieLevelConsentMappingtype will ever exist, assuming no additional code to create them is added.
- Override the
ConfigurePagemethod and setPageConfiguration.UIFormNameto the CookieLevelConsentMapping form codename before calling base.
using TrainingGuides.Admin.Pages;
using Kentico.Xperience.Admin.Base;
using Kentico.Xperience.Admin.Base.Forms;
using Kentico.Xperience.Admin.DigitalMarketing.UIPages;

[assembly: UIPage(
    parentType: typeof(DataProtectionContentLanguage),
    slug: "cookielevelconsentmapping",
    uiPageType: typeof(CookieLevelConsentMappingPage),
    name: "Cookie level consent mapping",
    templateName: TemplateNames.EDIT,
    order: UIPageOrder.First + 1)]

namespace TrainingGuides.Admin.Pages;

internal class CookieLevelConsentMappingPage : InfoEditPage<CookieLevelConsentMappingInfo>
{
    private readonly ICookieLevelConsentMappingInfoProvider cookieLevelConsentMappingInfoProvider;

    public CookieLevelConsentMappingPage(IFormComponentMapper formComponentMapper, IFormDataBinder formDataBinder,
    ICookieLevelConsentMappingInfoProvider generalSettingsInfoProvider) : base(formComponentMapper, formDataBinder)
    {
        cookieLevelConsentMappingInfoProvider = generalSettingsInfoProvider;
    }

    public override int ObjectId
    {
        get
        {
            var mappings = GetOrCreateMappings();
            return mappings.CookieLevelConsentMappingID;
        }
        set => throw new InvalidOperationException("The $ObjectId value cannot be set.");
    }

    public override Task ConfigurePage()
    {
        PageConfiguration.UIFormName = "CookieLevelConsentMapping";

        return base.ConfigurePage();
    }

    private CookieLevelConsentMappingInfo GetOrCreateMappings()
    {
        var item = cookieLevelConsentMappingInfoProvider.Get()?.FirstOrDefault();

        if (item == null)
        {
            item = new CookieLevelConsentMappingInfo
            {
                CookieLevelConsentMappingGuid = Guid.NewGuid()
            };
            cookieLevelConsentMappingInfoProvider.Set(item);
        }

        return item;
    }
}
When you rebuild the solution, you will see a new UI page in the Data protection application. Editors can use this page to map consents to the Preference, Analytical, and Marketing levels.
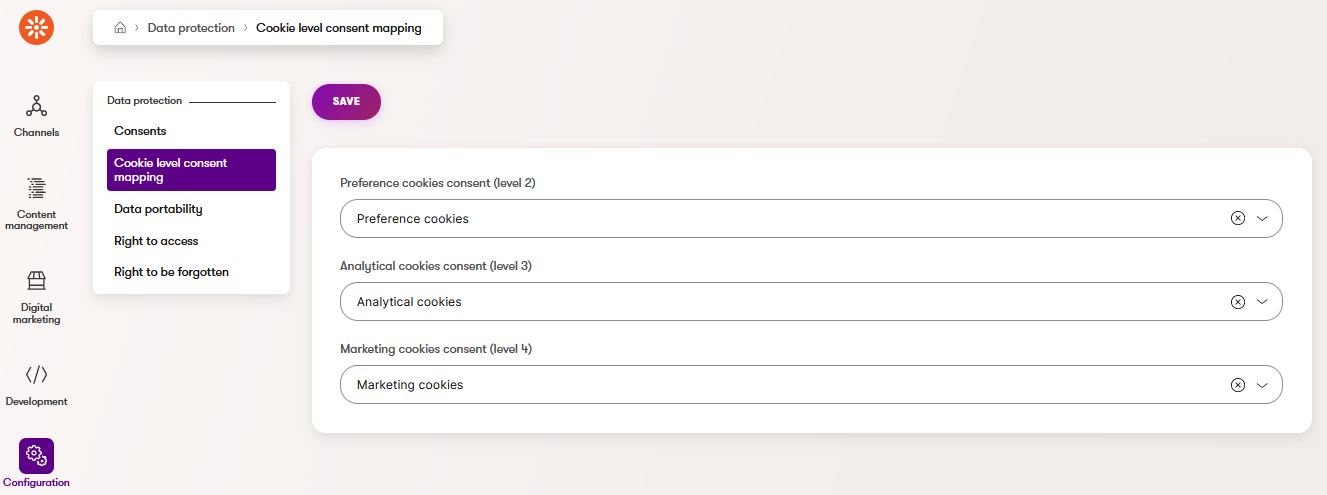
Map the consents
The new page can be used to save cookie consent mappings.
- Navigate to the new page under the Cookie level consent mapping tab of the Data protection application in the Xperience administration interface.
- Select the corresponding consent, created in previous steps, for each cookie level.
Now, the mapping can be retrieved using the provider classes saved earlier in the guide.
Protect the mappings
Some businesses may find it pertinent to remove the risk of editors accidentally deleting a consent that is used in the mapping page.
This can be achieved using object events. You can assign handlers to the ConsentInfo.TYPEINFO.Events.Delete.Before and ConsentInfo.TYPEINFO.Events.BulkDelete.Before events, to throw an exception if any of the consents involved are referenced by the cookie-level mapping.
You can closely follow this example to register the handlers and compare the codenames of the provided consents to those in the properties of the singular CookieLevelConsentMappingInfo object.
What’s next?
The next guide in this series will show you how to create a cookie-level configuration widget using the mapping created here. With this widget, editors can create a configuration page that allows visitors to choose the level of cookies they agree to.