Importing files
The File import application allows you to import large amounts of files into the system. The files imported using this application are stored in the content tree as CMS.File (or CMS.Folder ) pages. This eliminates the need to create pages and upload files in the content tree manually one-by-one.
You can import files from the two following sources:
- From your computer - use this option to import files from anywhere on your disk. Note that this option allows you to perform import on a file-to-file basis only. This means that you have to structure the files into folders manually.
- From a server disk - use this option to import files located on the server disk. Note that this options allows you to import files including their whole folder structure.
The use of this application should be allowed only to site administrators, as the File import application doesn’t check certain security settings from Settings -> System -> Files, such as allowed file extensions. The File import security subsection demonstrates how you can set permissions for this application.
The File import application isn’t the only way how you can upload files to the system. See Working with files for further details.
Importing files from your computer
When importing files from your computer, the system doesn’t retain the original folder structure. If you want to import whole folders, import the files from a server disk. Files imported this way are stored as CMS.File pages.
Open the File import application.
Switch to the Import from your computer tab.
Specify the following properties:
- Target alias path - path within the content tree where the files will be imported.
- Culture - culture to which the uploaded files (pages) will be assigned.
- Include file extension in name - if enabled, the file extension is included in the File name of the newly imported files.
Click Select files to select files that you want to import into the system.
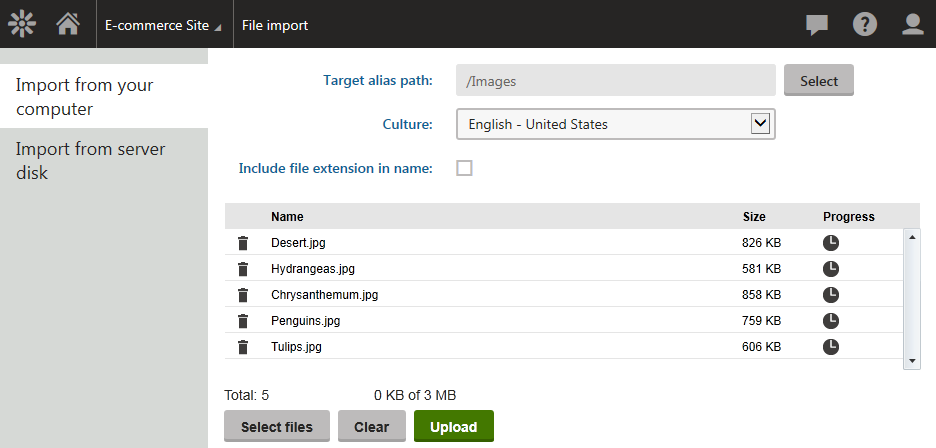
Click on Upload.
- The system imports the files.
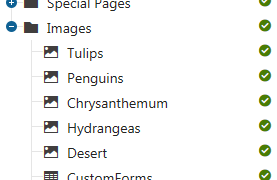
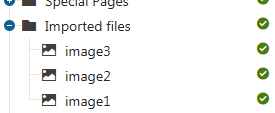
If you now open the Pages application and locate the alias path that you specified in the previous step, you can see that the files have been uploaded.
Importing files from a server disk
You can ensure the entire folder structure is retained by importing files from a server disk. When files are uploaded this way, they are stored as CMS.File (or CMS.Folder) pages.
- Copy your files into the specified import folder.
- The default file import folder is ~/CMSImportFiles.
- You can customize the file import path in Settings -> System -> Files -> Files folder.
- Open the File import application.
- Switch to the Import from server disk tab.
- Select files to import.
- Specify the following properties:
Target alias path - path within the content tree where the files will be imported.
Culture - culture to which the uploaded files (pages) will be assigned.
Delete imported files from disk - if enabled, files in the import folder will be deleted after a successful import.
Include file extension in name - if enabled, the file extension is included in the File name of the newly imported files.
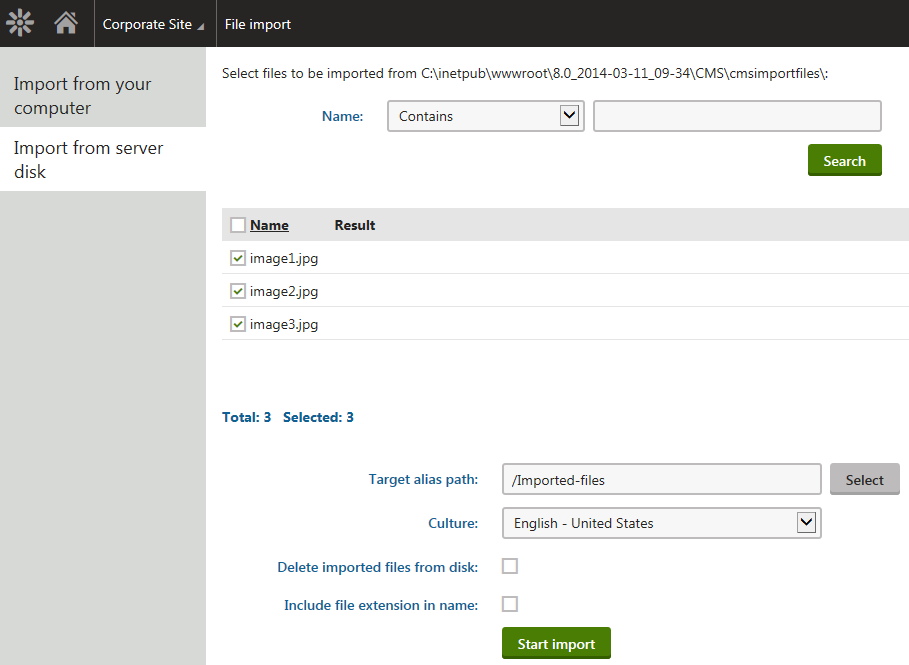
- Click Start import.
- The system imports the files.
If you now open the Pages application and locate the alias path that you specified in the previous step, you can see that the files have been uploaded.
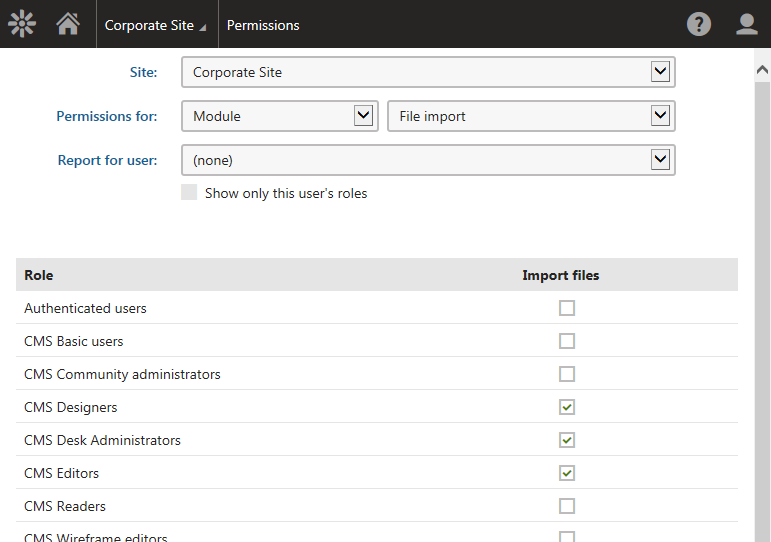
File import security
You can configure access rights for the File import application using the Permissions application after selecting Permissions for: Module File import . The File import application has only one permission:
- Import files - members of the specified roles can import files using the File import application.