
Starting with MVC development
This page provides instructions on how to set up an MVC application together with a Kentico instance so that you have a starting point for further MVC development.
Kentico provides ASP.NET MVC support based on a separate MVC application. The application takes care of the presentation and is separated from the Kentico administration. Both applications access the same database as the Kentico application and content synchronization can be handled by web farms.
Licensing for MVC applications
You only need to purchase a license for the MVC application. The additional license for the Kentico administration and one extra web farm server is provided for free. To obtain the additional license, contact our sales department.
Setting up the Kentico instance
In order to develop an MVC application with Kentico, you need to use a content only site that will serve as a repository for content:
- Go to the Sites application.
- Click on the New site wizard button.
- Select Use web template.
- Click Next.
- Select the MVC Blank Site template from the list.
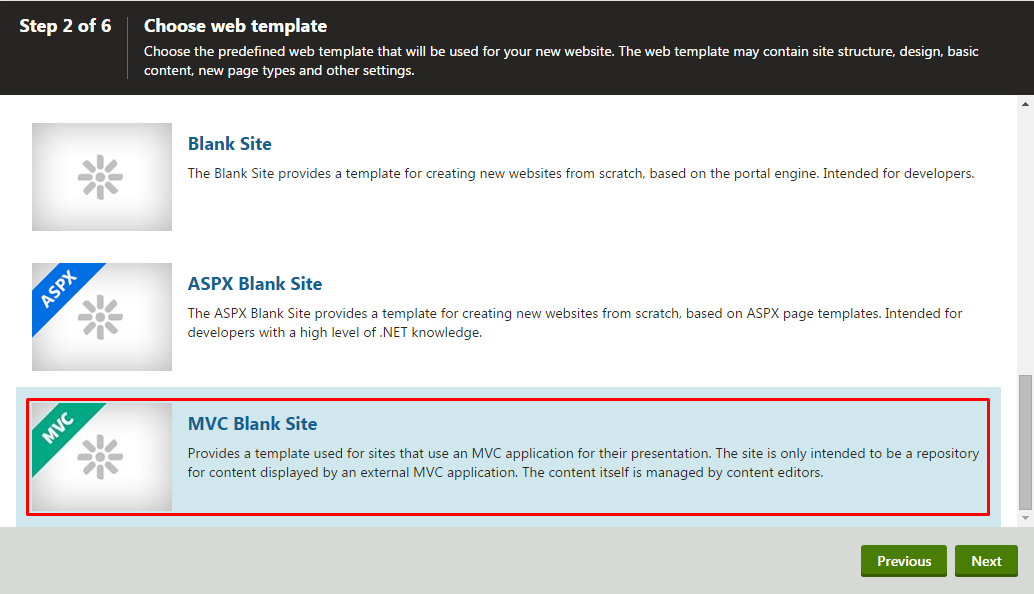
- Continue with the remaining steps of the wizard and finish creating the new site.
Now edit () your new site and on the General tab set the Presentation URL. This is the URL that will be used by the MVC application. For example, http://localhost/MvcApplication or http://www.SiteDomain.com.
Next, you need to set up a content sychronization mechanism:
- Go to the Settings application.
- Navigate to Versioning & Synchronization -> Web farm.
- Set the Web farm mode to Automatic.
- Click the Save button.
Ensuring unique server names
The system generates the names of automatic web farm servers by combining the machine name and the virtual directory in which the given application is running. If this combination of variables is not unique in your environment, you need to manually assign unique server names to the web farm servers. For example, this problem can occur if you run your MVC application and Kentico application on the same machine without using virtual directories, e.g. on different domains.
To learn how to set web farm server names manually, see Step 5 in Configuring web farms manually.
At this point the content only site and your Kentico instance are set up to be used with an MVC application.
Setting up the MVC application
Your new MVC application needs to be configured to work with Kentico:
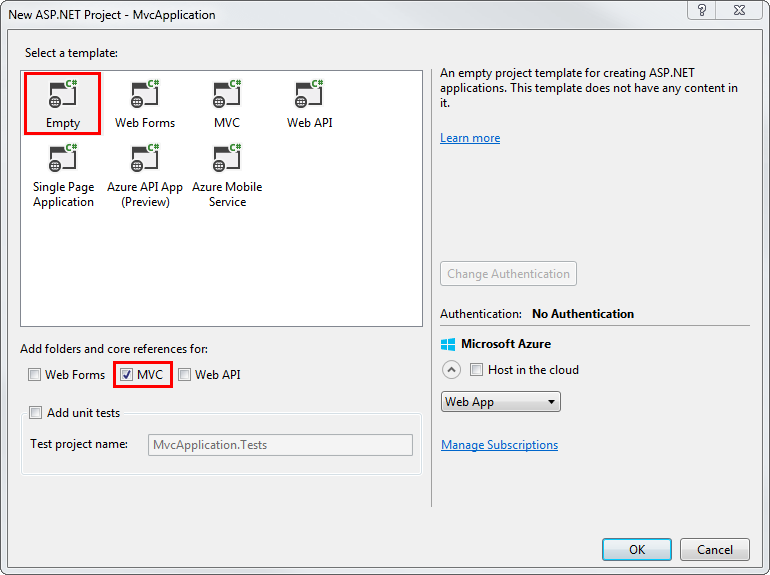
Create an empty ASP.NET MVC project in Visual Studio.
- Select the Empty template.
- Enable the MVC checkbox to add folders and core references for MVC.
Right-click the solution and select Manage NuGet Packages for Solution.
Install the Kentico.Web.Mvc integration package into your MVC application project.
Edit the MVC project’s main web.config file:
Add a connection string to your Kentico database. We recommend copying the exact connection string from the web.config file of the related Kentico application project.
  <connectionStrings>
      <add name="CMSConnectionString" connectionString="Persist Security Info=False;database=Kentico;server=myserver;user id=username;password=mypassword;Current Language=English;Connection Timeout=120;" />
  </connectionStrings>
Copy the value of the CMSHashStringSalt appSettings key from the web.config of the Kentico project and add the value into the same key in the MVC project’s web.config (it is empty by default). This ensures that the MVC application generates hashes using the same salt value as the Kentico application (for example for macro signatures or page preview links).
  <appSettings>
      <add key="CMSHashStringSalt" value="e68b9ad6-a461-4707-8e3e-ece73f03dd02" />
      ...
  </appSettings>
In the MVC application’s Global.asax file, add a using statement for the Kentico.Web.Mvc namespace and add the following line in the Application_Start method:
 using Kentico.Web.Mvc;
 ...

 protected void Application_Start()
 {
     ...

     // Enables and configures the selected Kentico ASP.NET MVC integration features
     ApplicationConfig.RegisterFeatures(ApplicationBuilder.Current);
 }
In the App_Start\RouteConfig.cs file, add a using statement for the Kentico.Web.Mvc namespace, and call the MapRoutes method (must be called before you map any of your own routes).
 using Kentico.Web.Mvc;

 public static void RegisterRoutes(RouteCollection routes)
 {
     routes.IgnoreRoute("{resource}.axd/{*pathInfo}");

     // Maps routes to Kentico HTTP handlers.
     // Must be first, since some Kentico URLs may be matched by the default ASP.NET MVC routes,
     // which can result in pages being displayed without images.
     routes.Kentico().MapRoutes();

     ...
 }
Expand the project’s Properties folder and create a new class, for example named WebAssemblyInfo.cs. Add the AssemblyDiscoverable assembly attribute into the class.
The attribute allows you to work with classesgenerated for Kentico objects.
The attribute is placed into a separate class because the default AssemblyInfo class cannot access code from external libraries in cases where the web project is precompiled with outputs merged into a single assembly (during deployment).
  using CMS;

  // Ensures that the Kentico API can discover and work with custom classes registered in the MVC web project
  [assembly: AssemblyDiscoverable]
Set a URL for the MVC application:
- Right-click the MVC project and select Properties.
- Open the Web tab.
- In the Servers section, select Local IIS.
- Set the Project Url identical to the Presentation URL assigned in your MVC site’s settings in Kentico.
- Click Create Virtual Directory.
After you run the MVC application, you can see it within the related Kentico administration interface in the Web farm application on the Servers tab, as a new server. The server’s Status changes to Healthy after a few moments.
You can now continue to define the content structure of your site and develop the MVC application.